Plugins is not in Settings
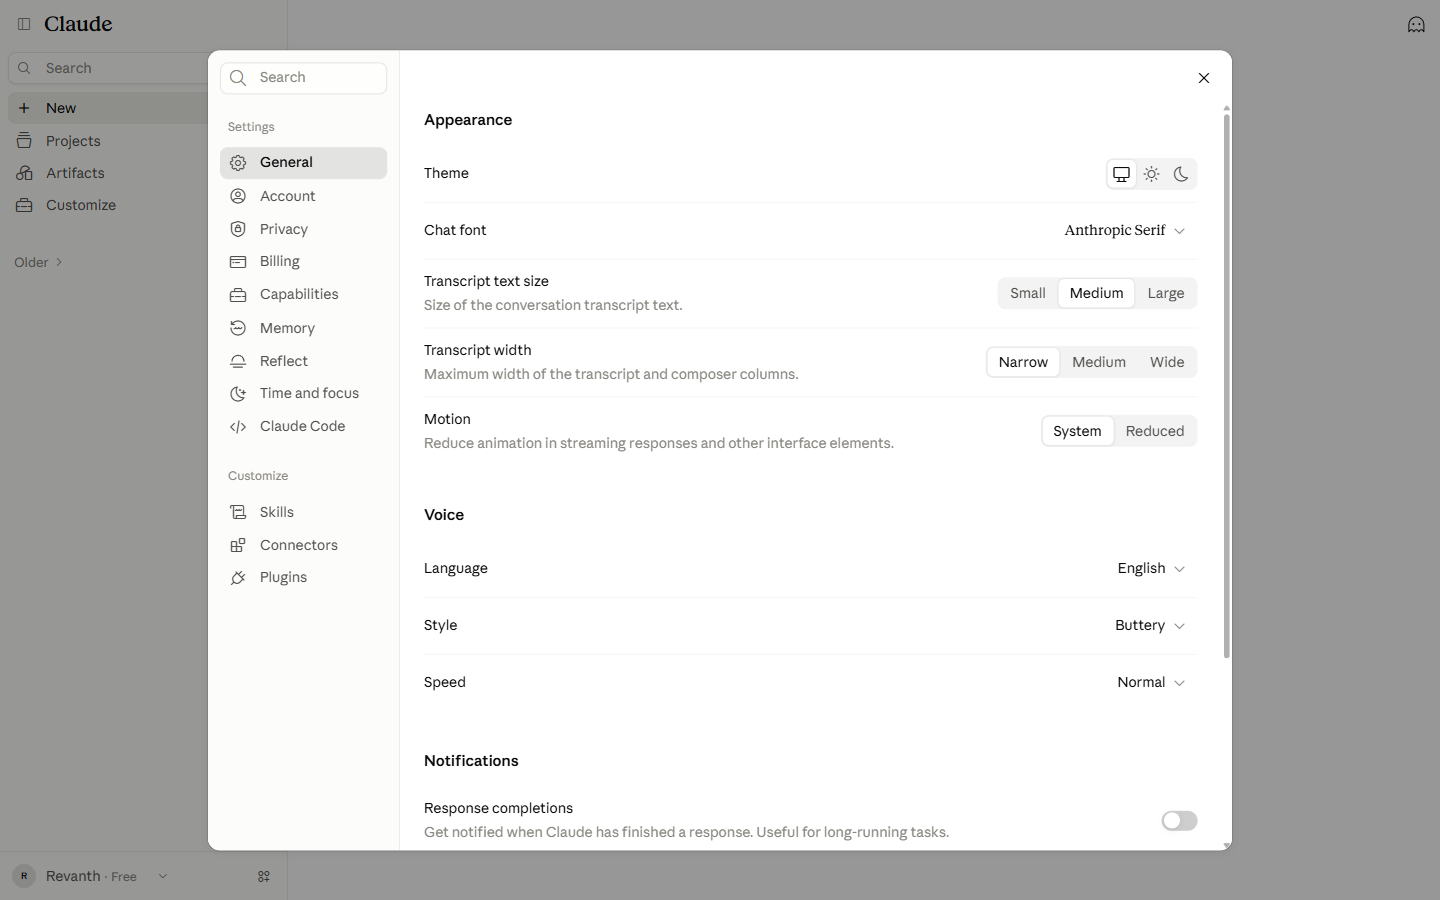
The Settings window is narrow. Widen the window, or use Customize → Plugins in the sidebar.
This guide provides step-by-step instructions on how to add the Ziply plugin to Claude and connect the Ziply connector to your Ziply account. Screenshots are included for each step to help you follow the process easily.
MCP server
Marketplace
Use "ZplyAI/ziply-mcp-plugin"Commands such as /ziply:status are available in Claude Cowork and Claude Code. The connector itself is added from the plugin's Connectors tab.
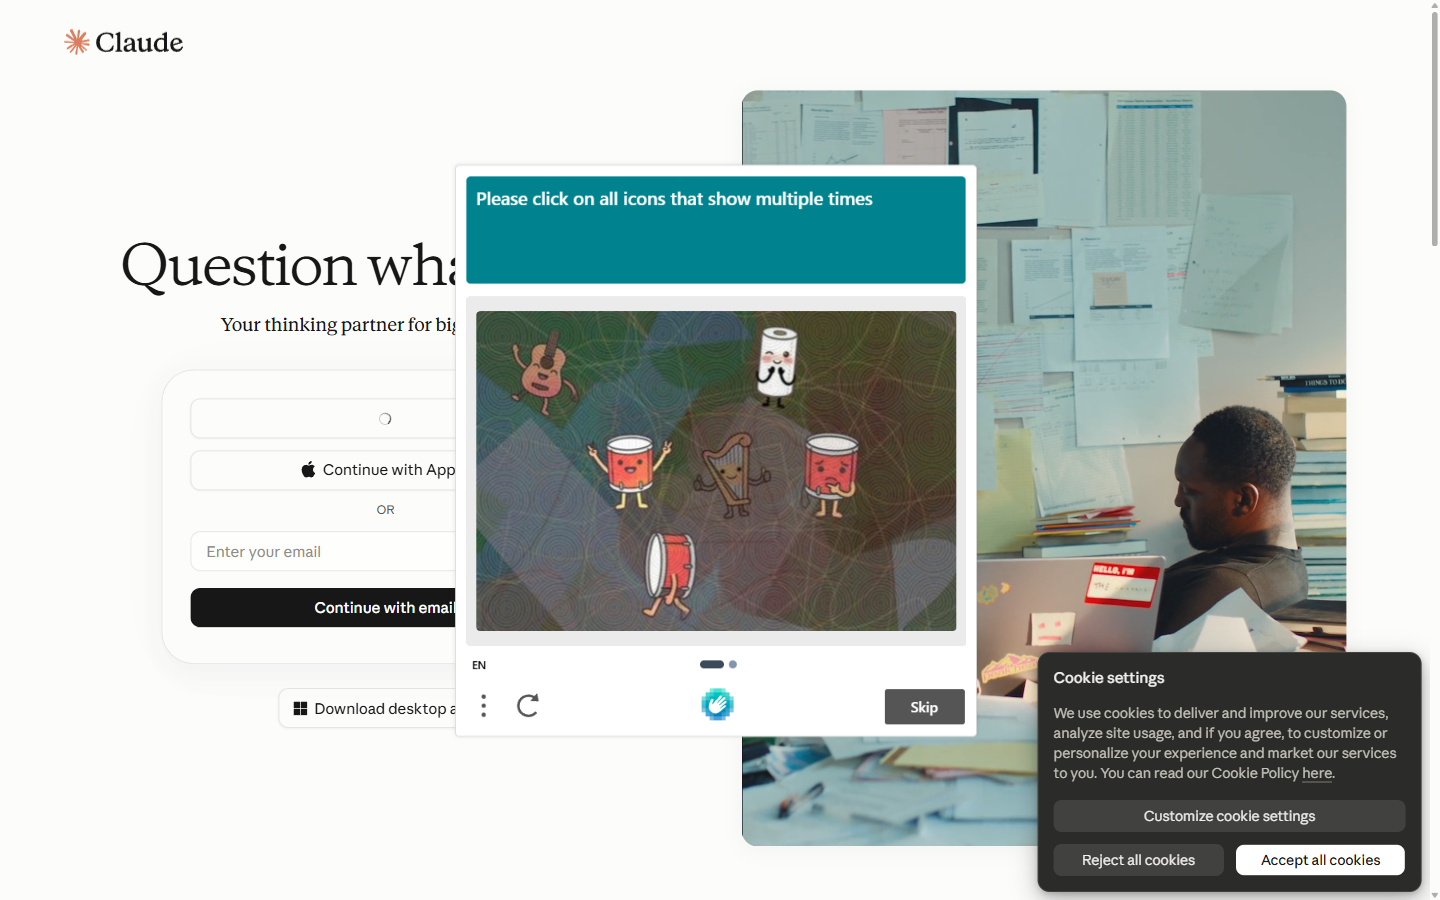
Open https://claude.ai and sign in (Google, Apple or email).
You land on the Claude home screen.
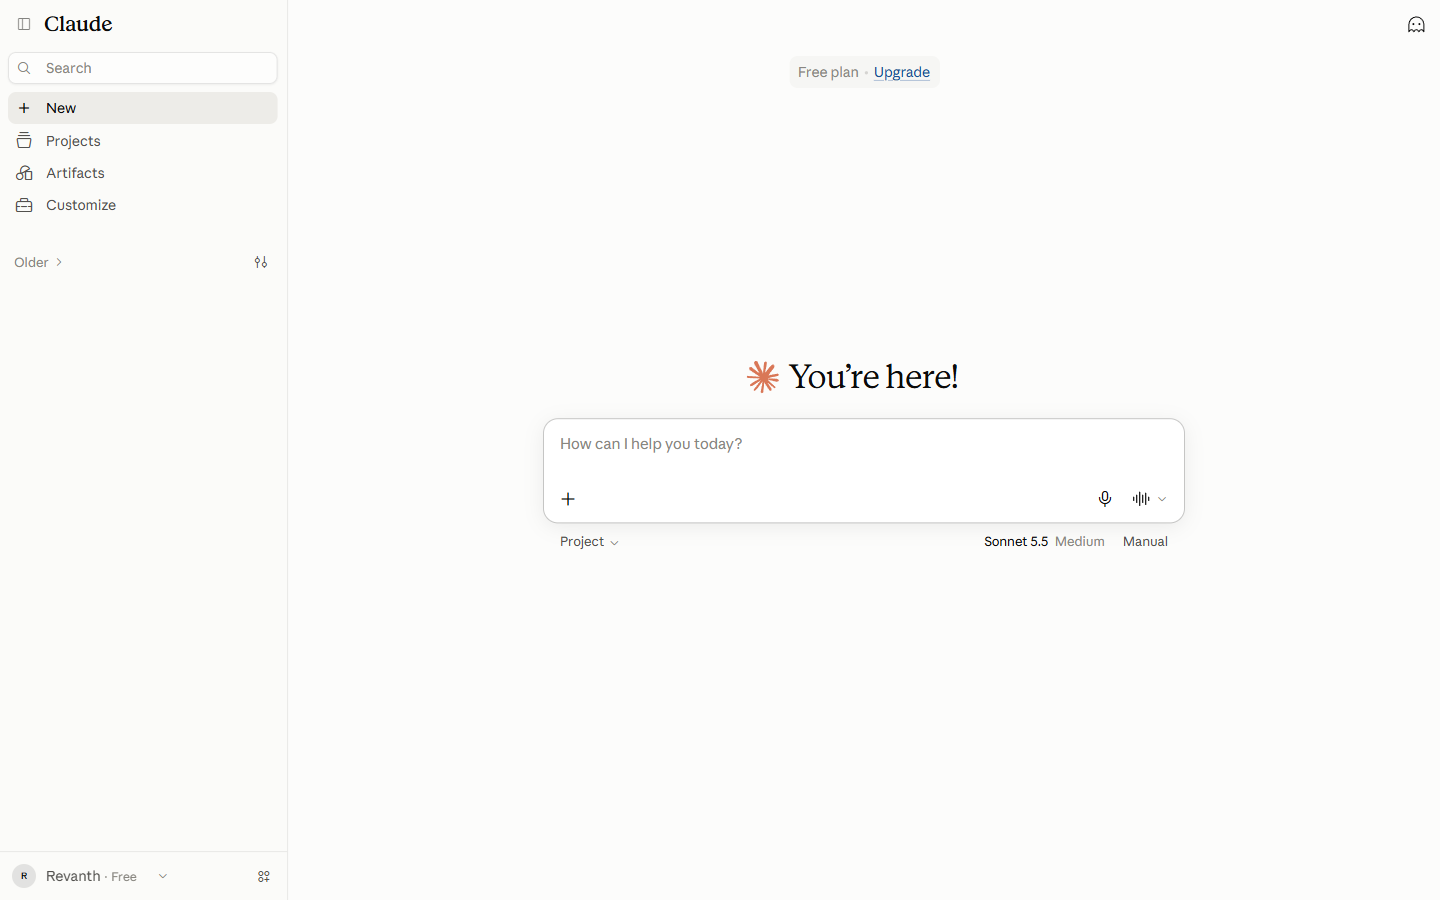
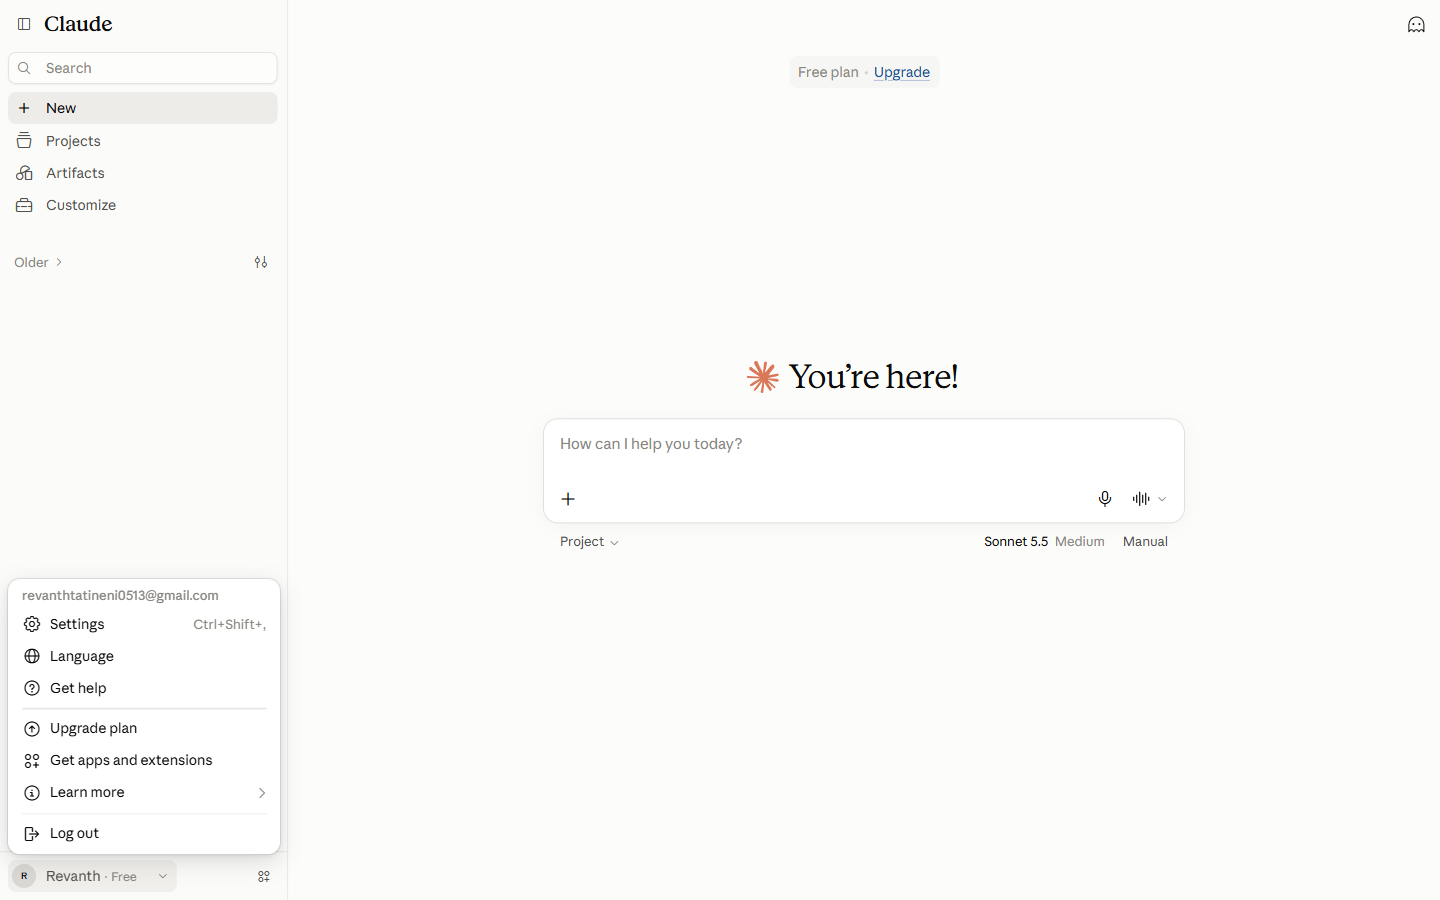
There are two ways to reach plugins. Use either one.
From Settings: click your name at the bottom left, then Settings. In the Settings window, scroll the left list to the Customize group and click Plugins.
From the sidebar: click Customize in the left sidebar, then the Plugins tab.
Both open the Plugins page. A new account shows "Add your first plugins". Click Add at the top right.
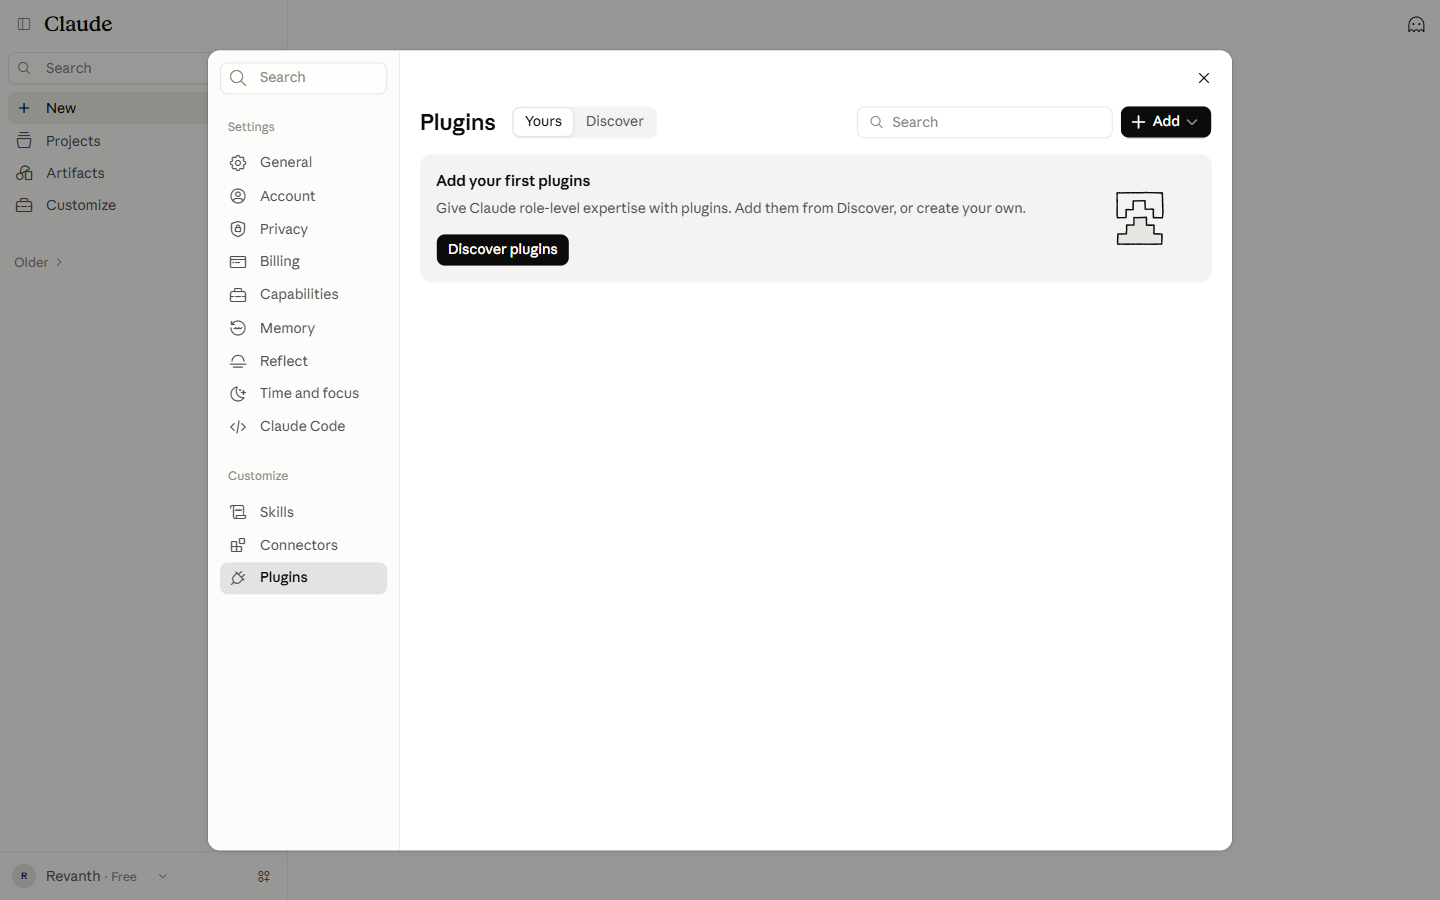
In the Add menu choose Add marketplace. The other items are Manage marketplaces, Upload plugin, Create a plugin and Create with Claude.
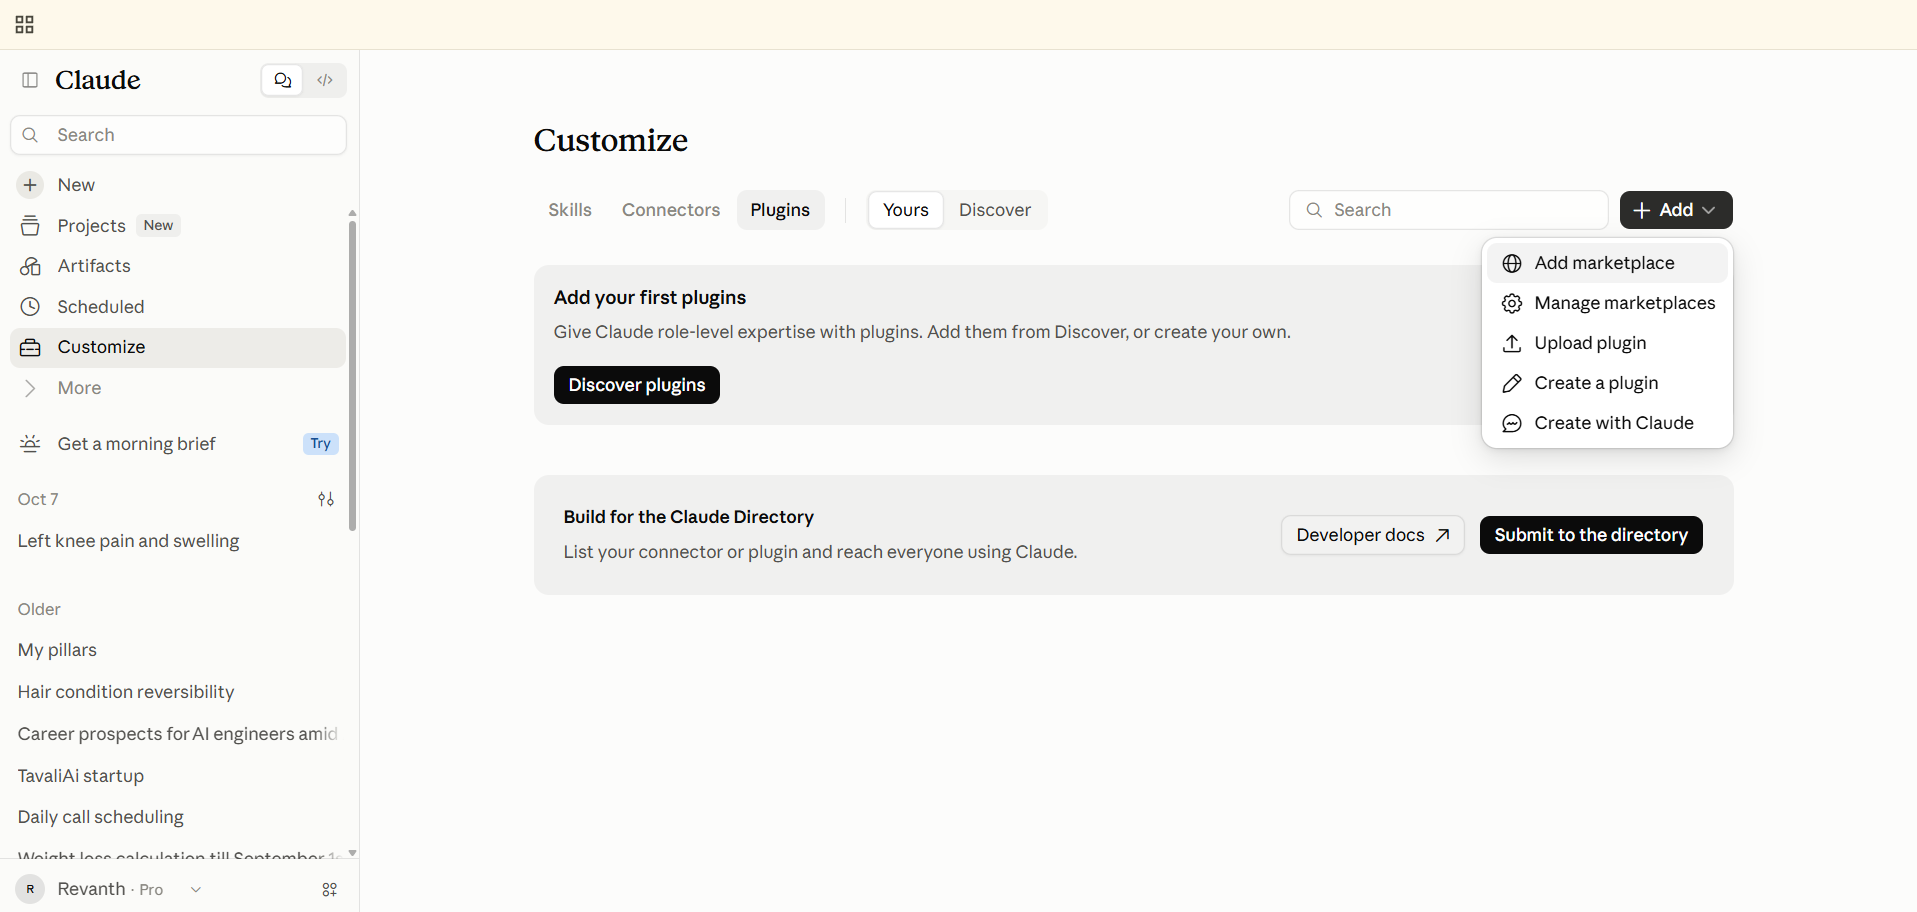
Choose Add from a repository. The other option, Browse Anthropic sources, lists Anthropic's own marketplaces.
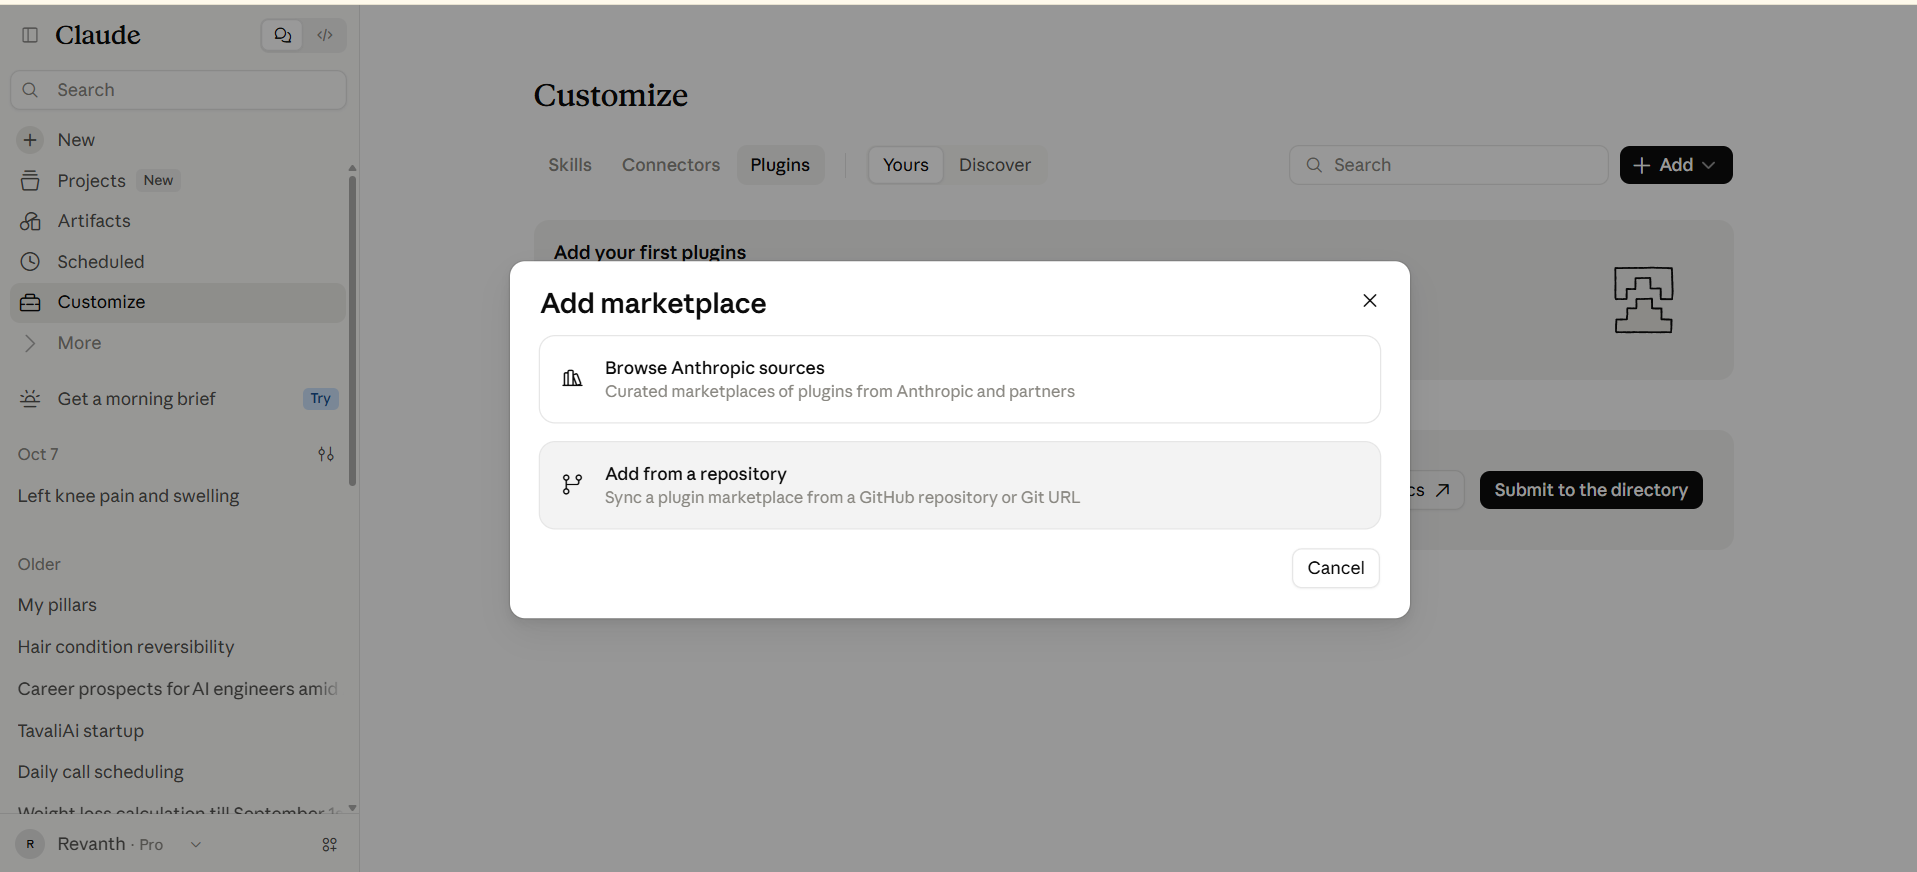
Claude shows a warning that plugins from marketplaces are not controlled by Anthropic. Click the URL field.
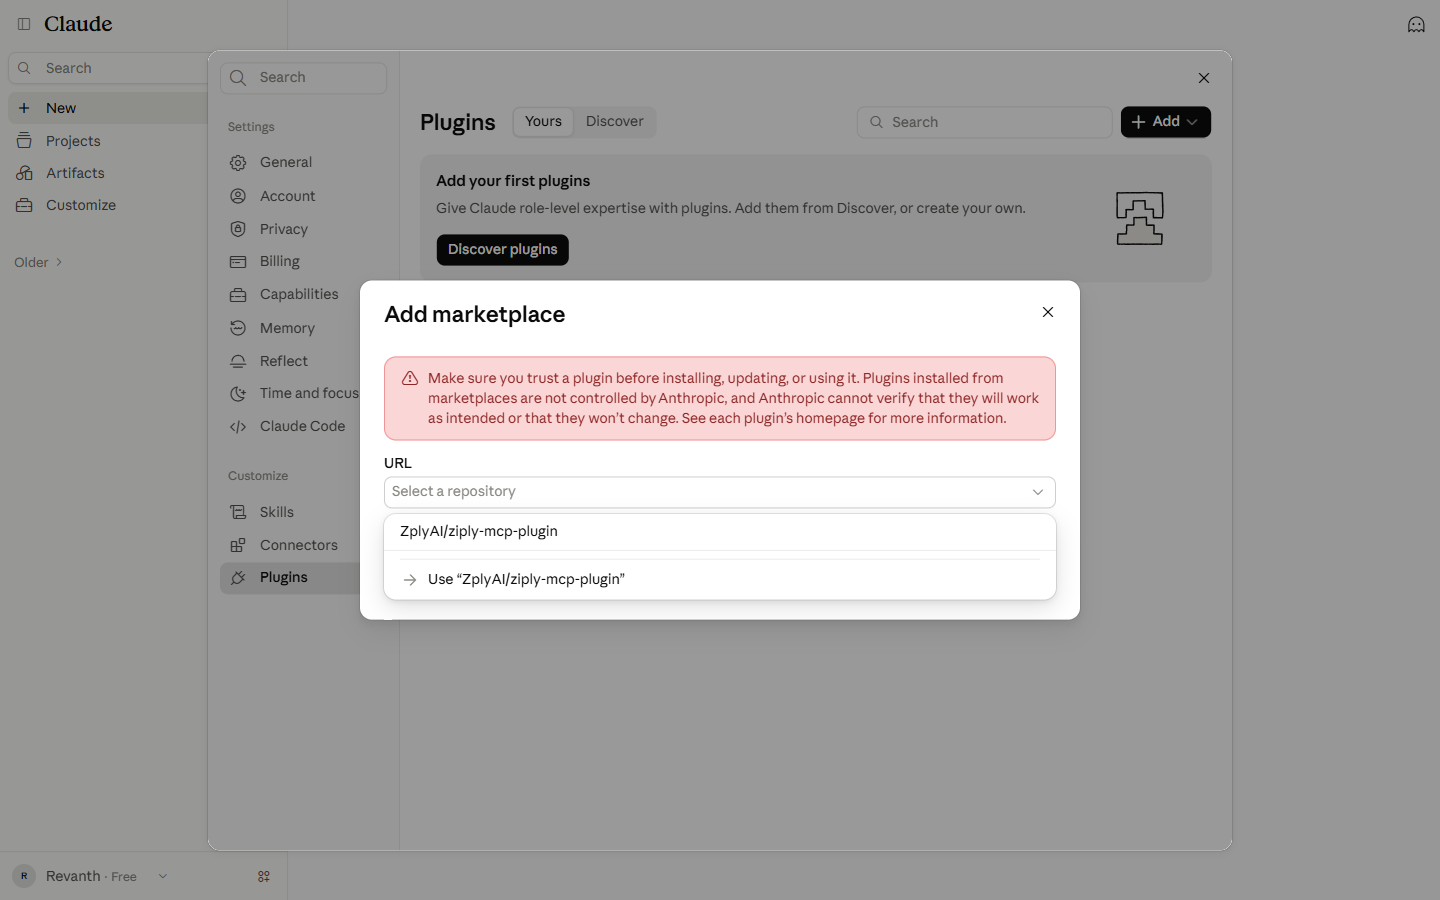
Type ZplyAI/ziply-mcp-plugin. A suggestion appears.
Click Use "ZplyAI/ziply-mcp-plugin". A Sync automatically switch appears, on by default.
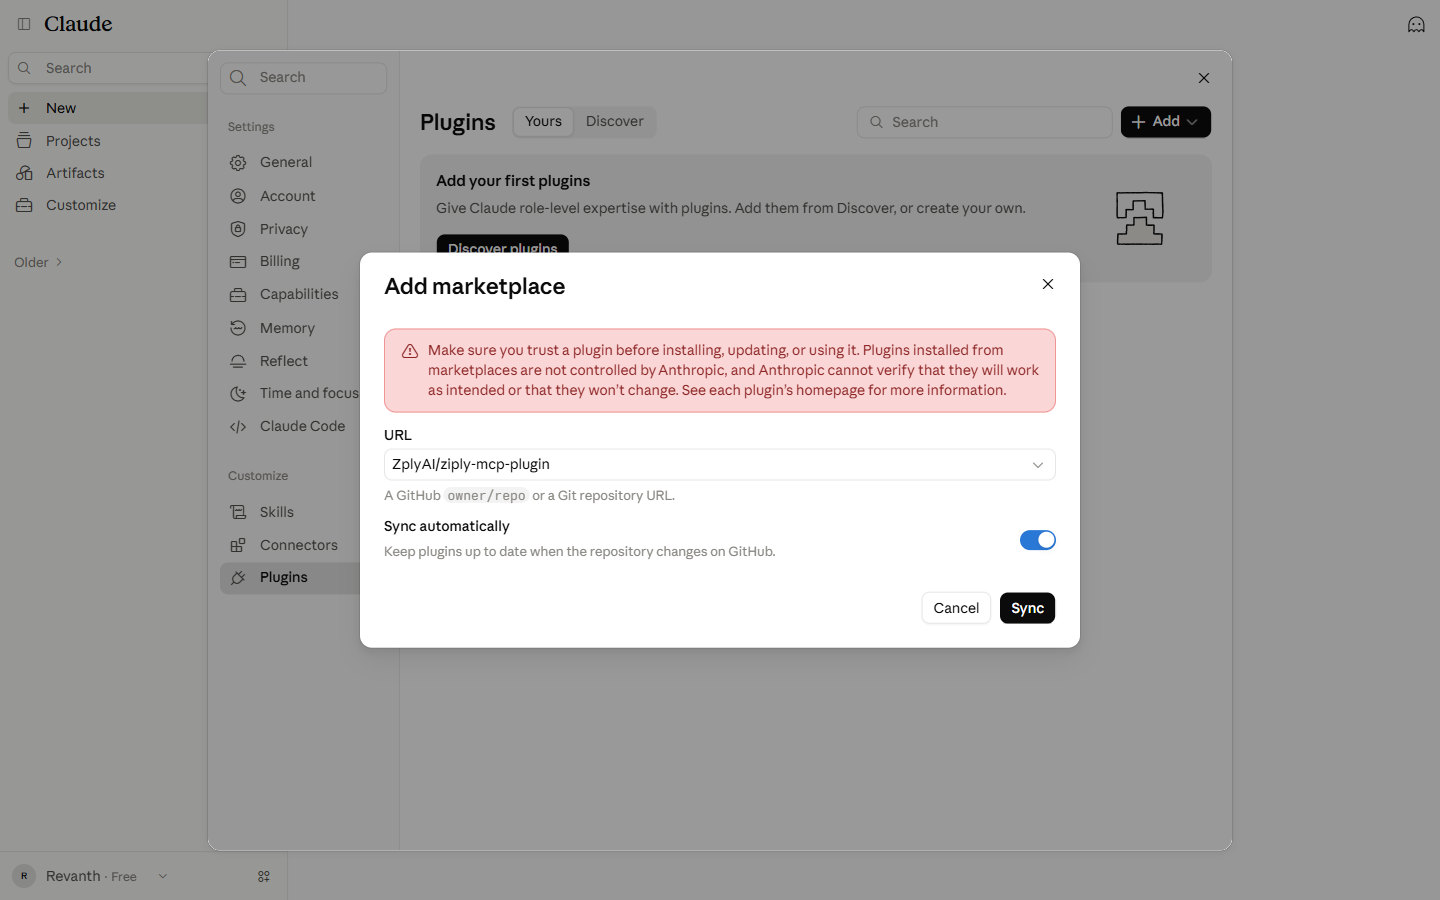
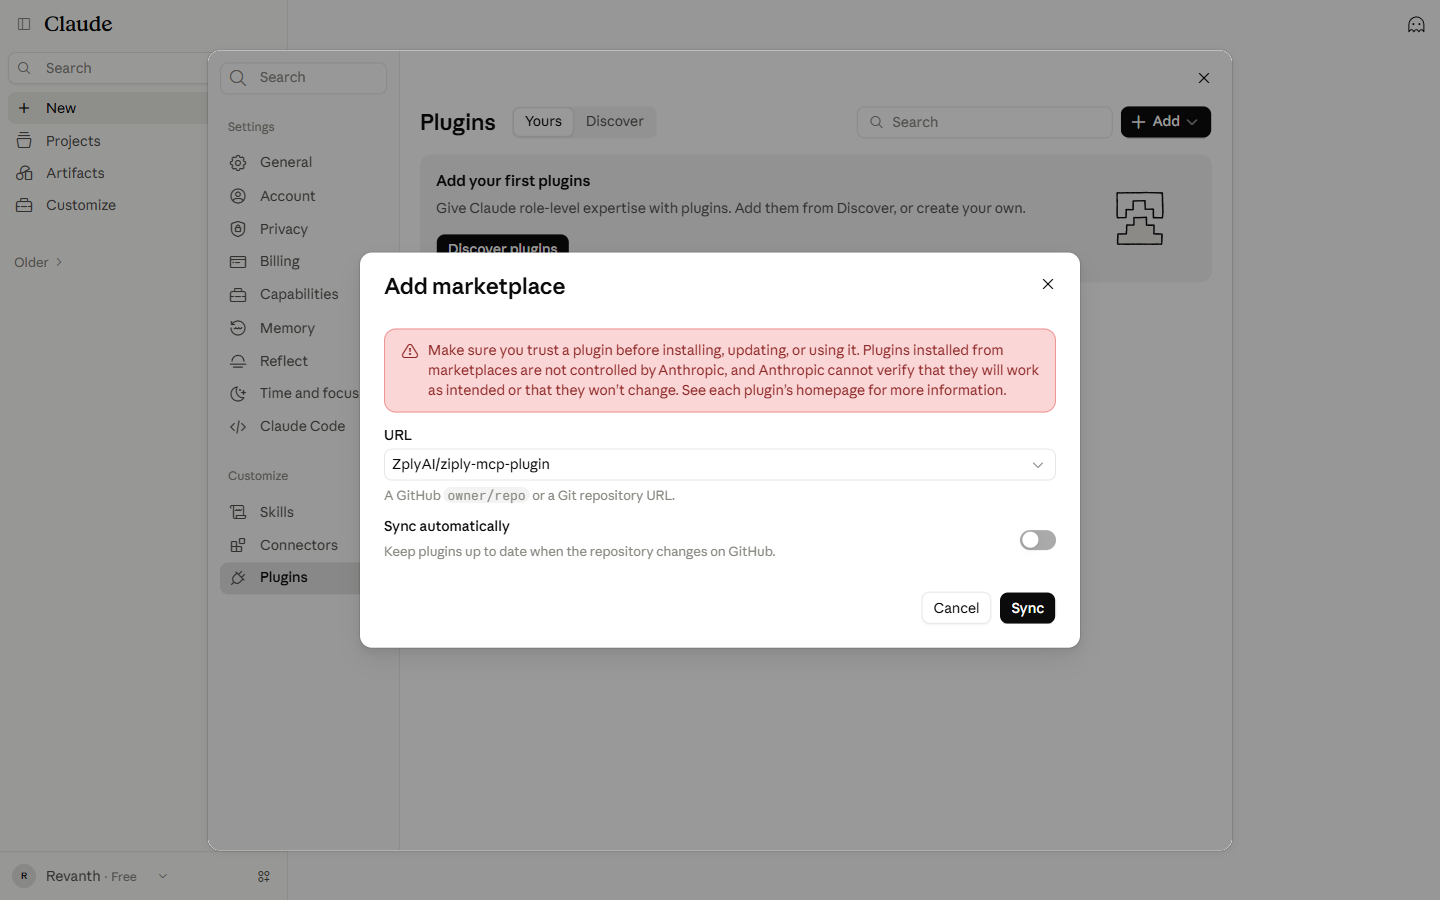
Switch Sync automatically off. This avoids the GitHub access prompt.
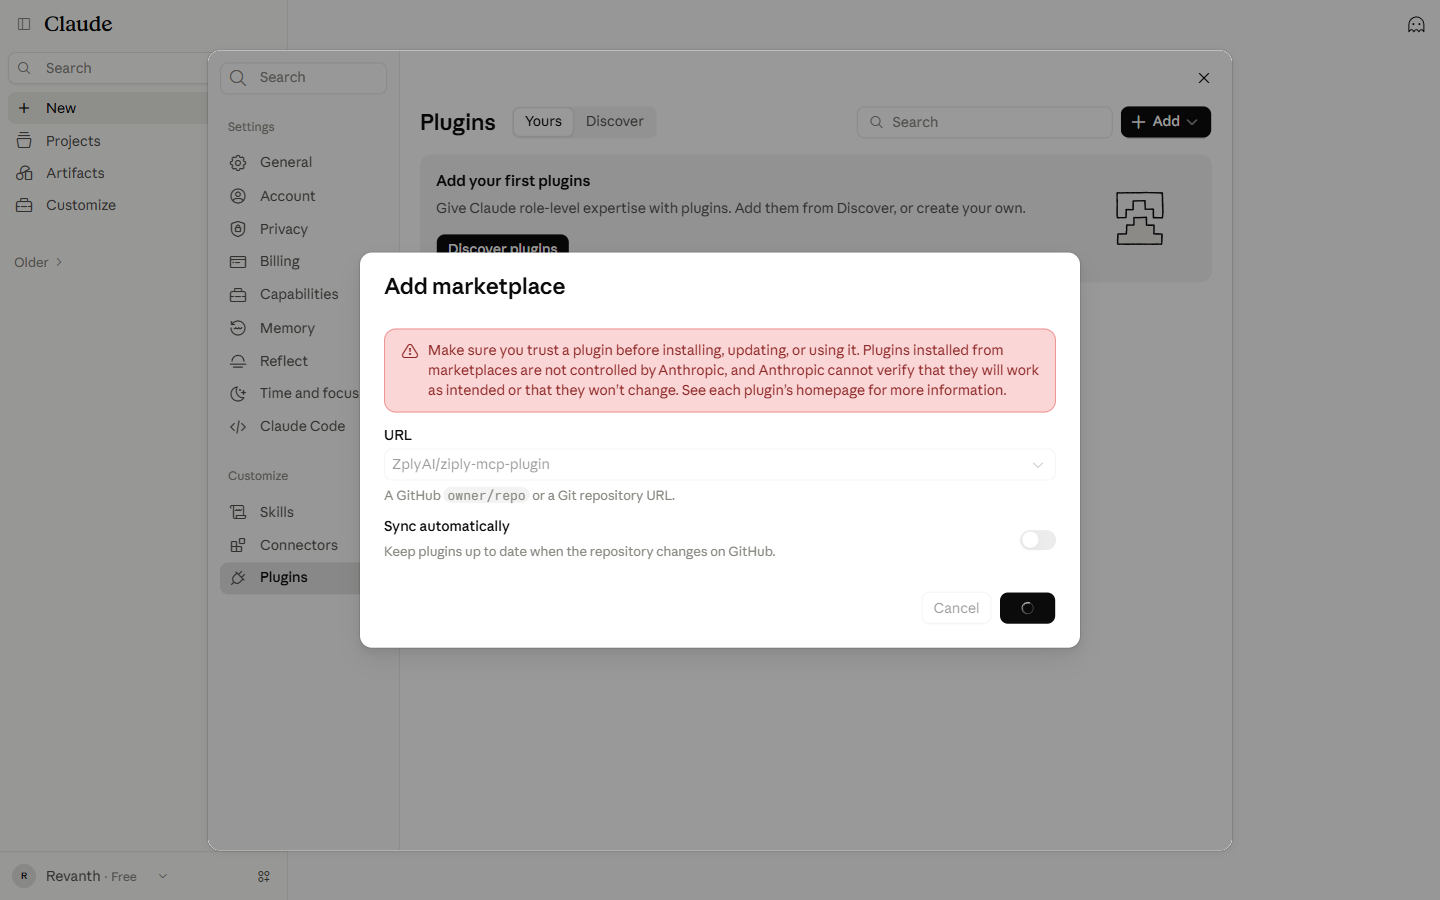
Click Sync. A spinner shows while Claude reads the repository.
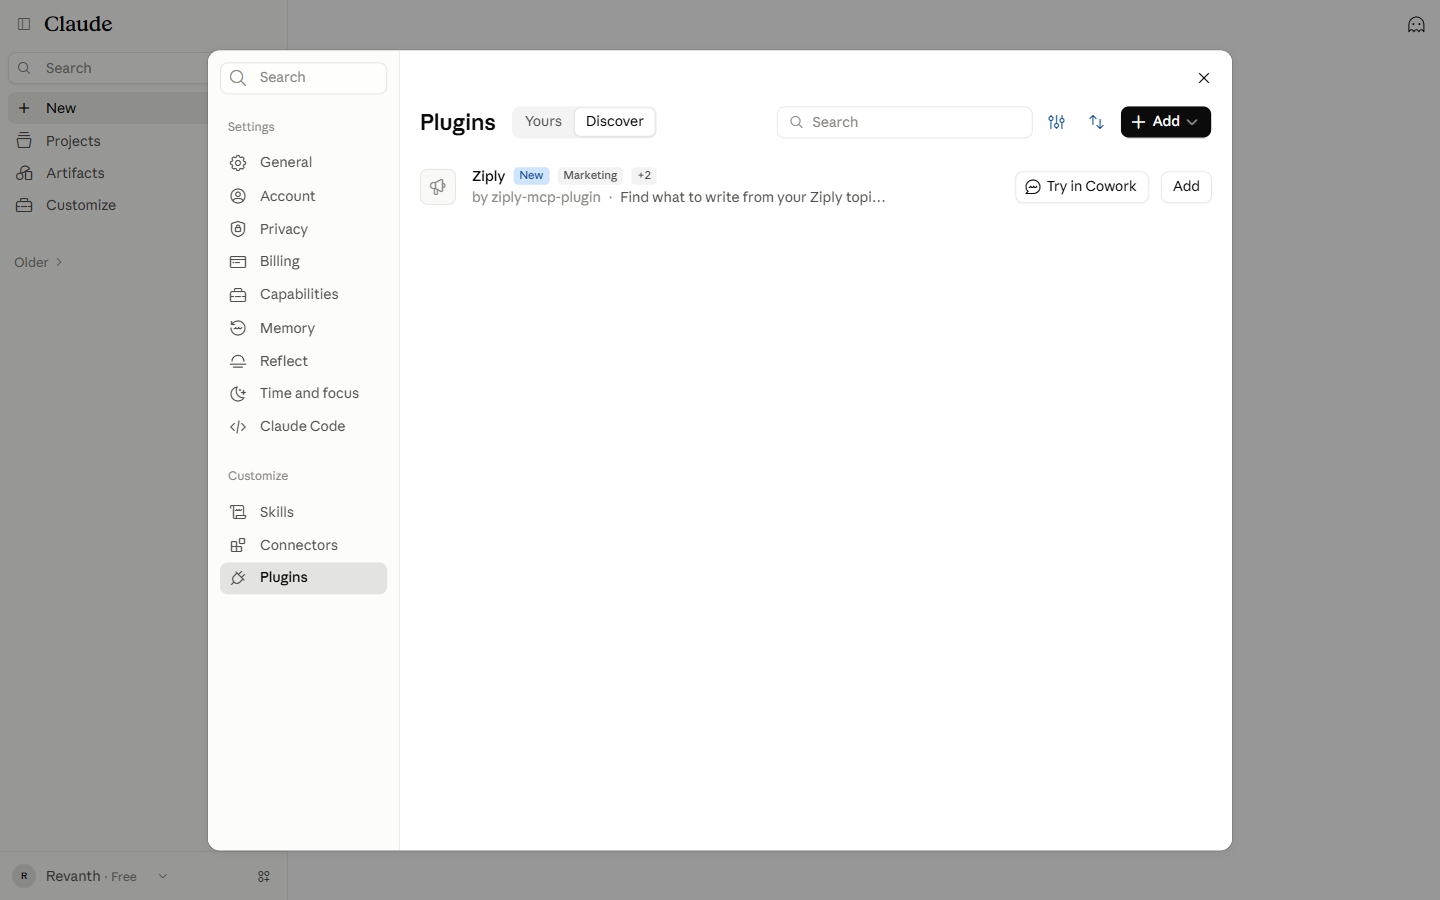
When the sync finishes, the Discover tab lists Ziply (by ziply-mcp-plugin). Click Add.
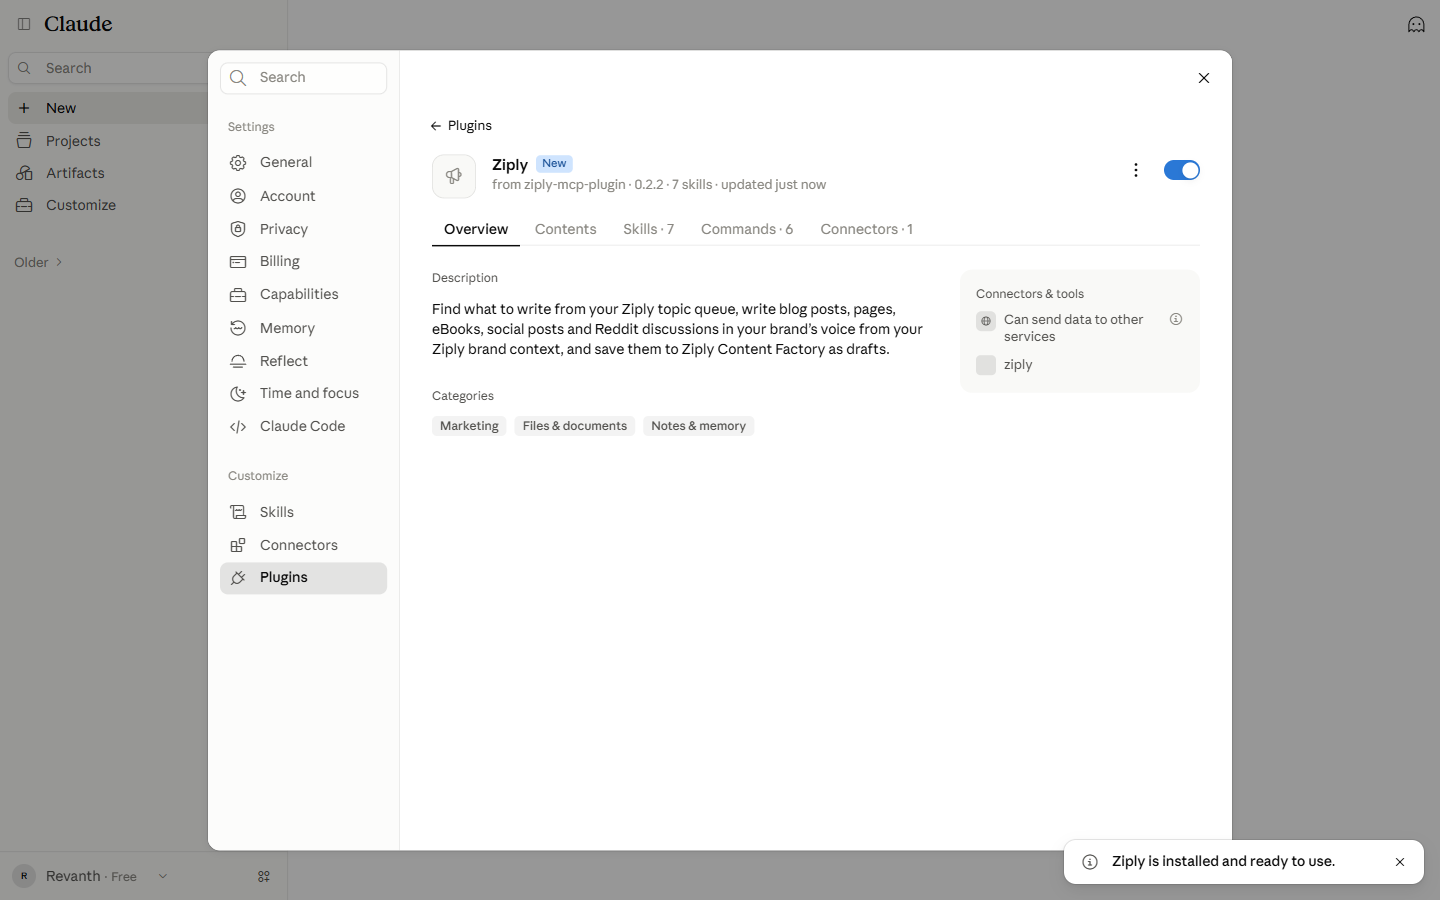
The plugin page opens and a toast says "Ziply is installed and ready to use." The plugin has 7 skills, 6 commands and 1 connector (ziply).
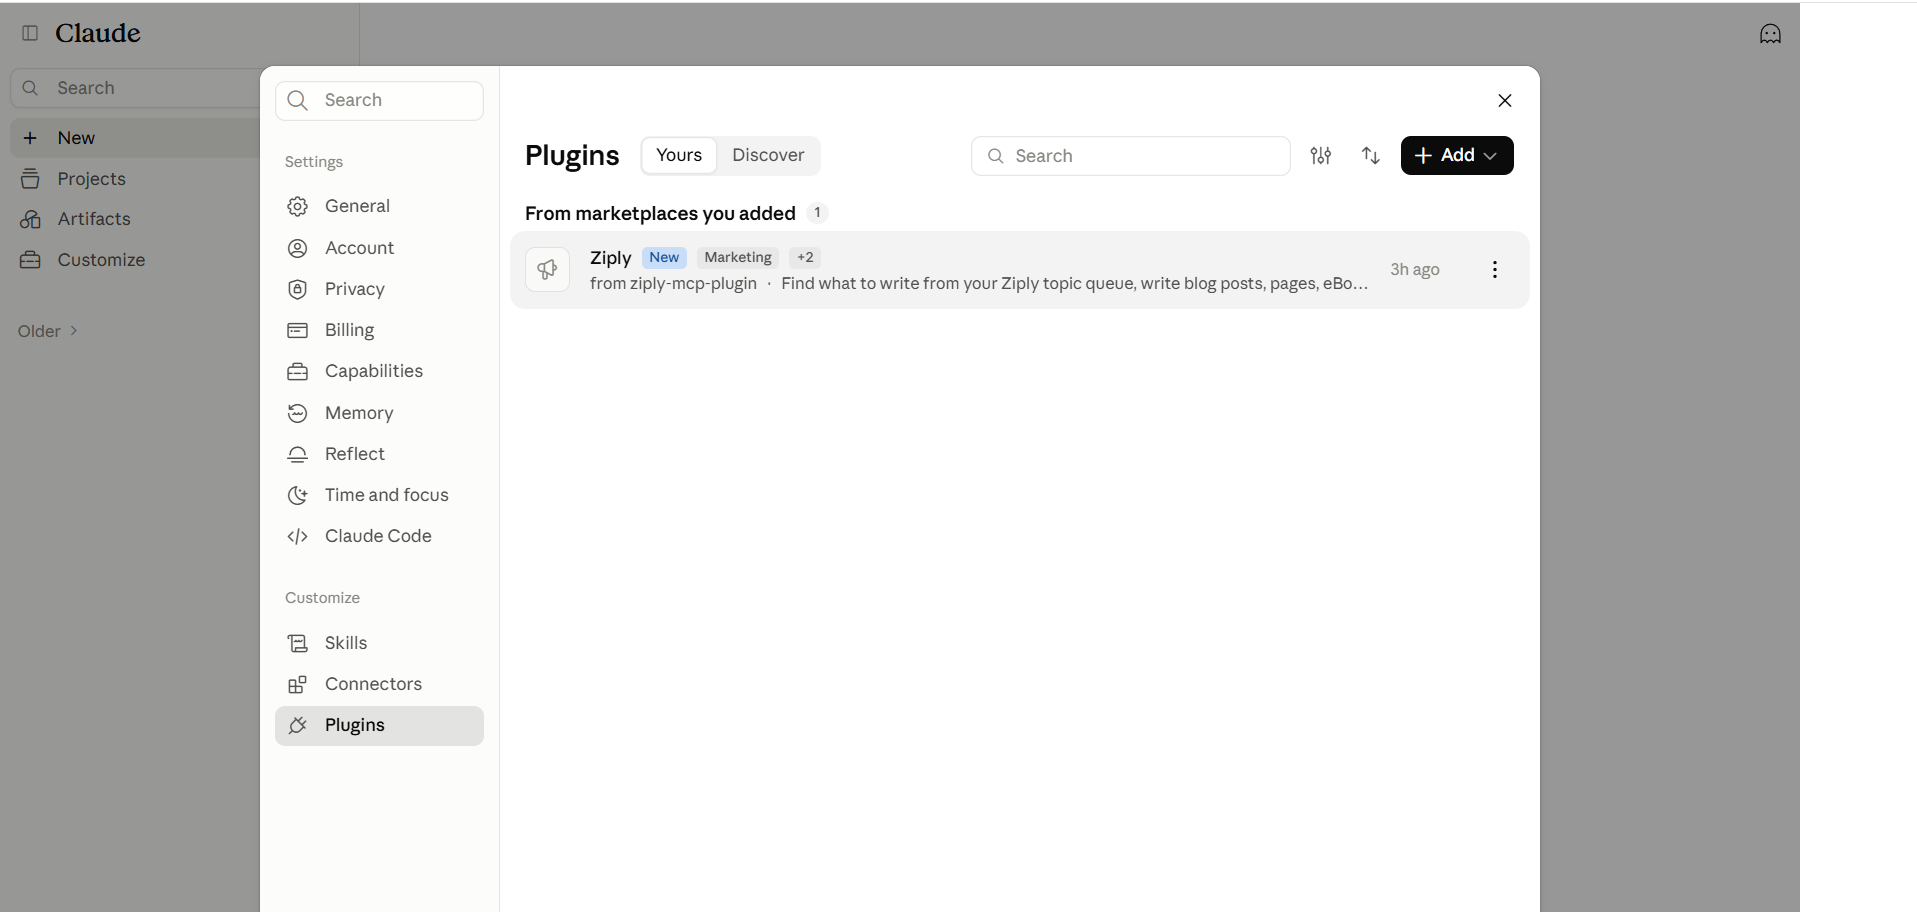
Go to the Plugins page and open the Yours tab. Ziply is listed under "From marketplaces you added".
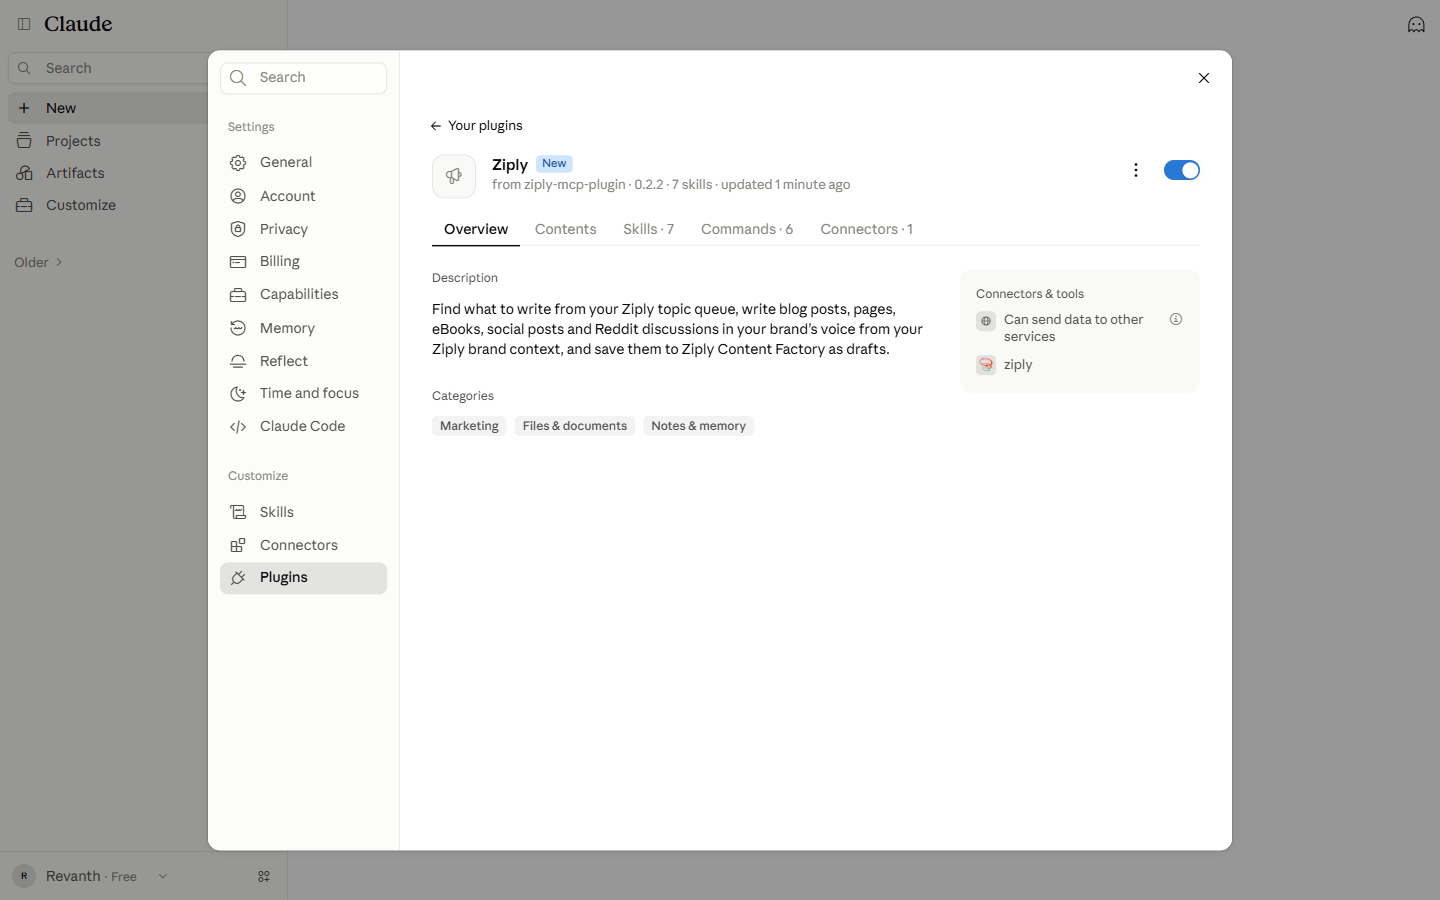
Click Ziply. The Overview tab shows the description and the ziply connector.
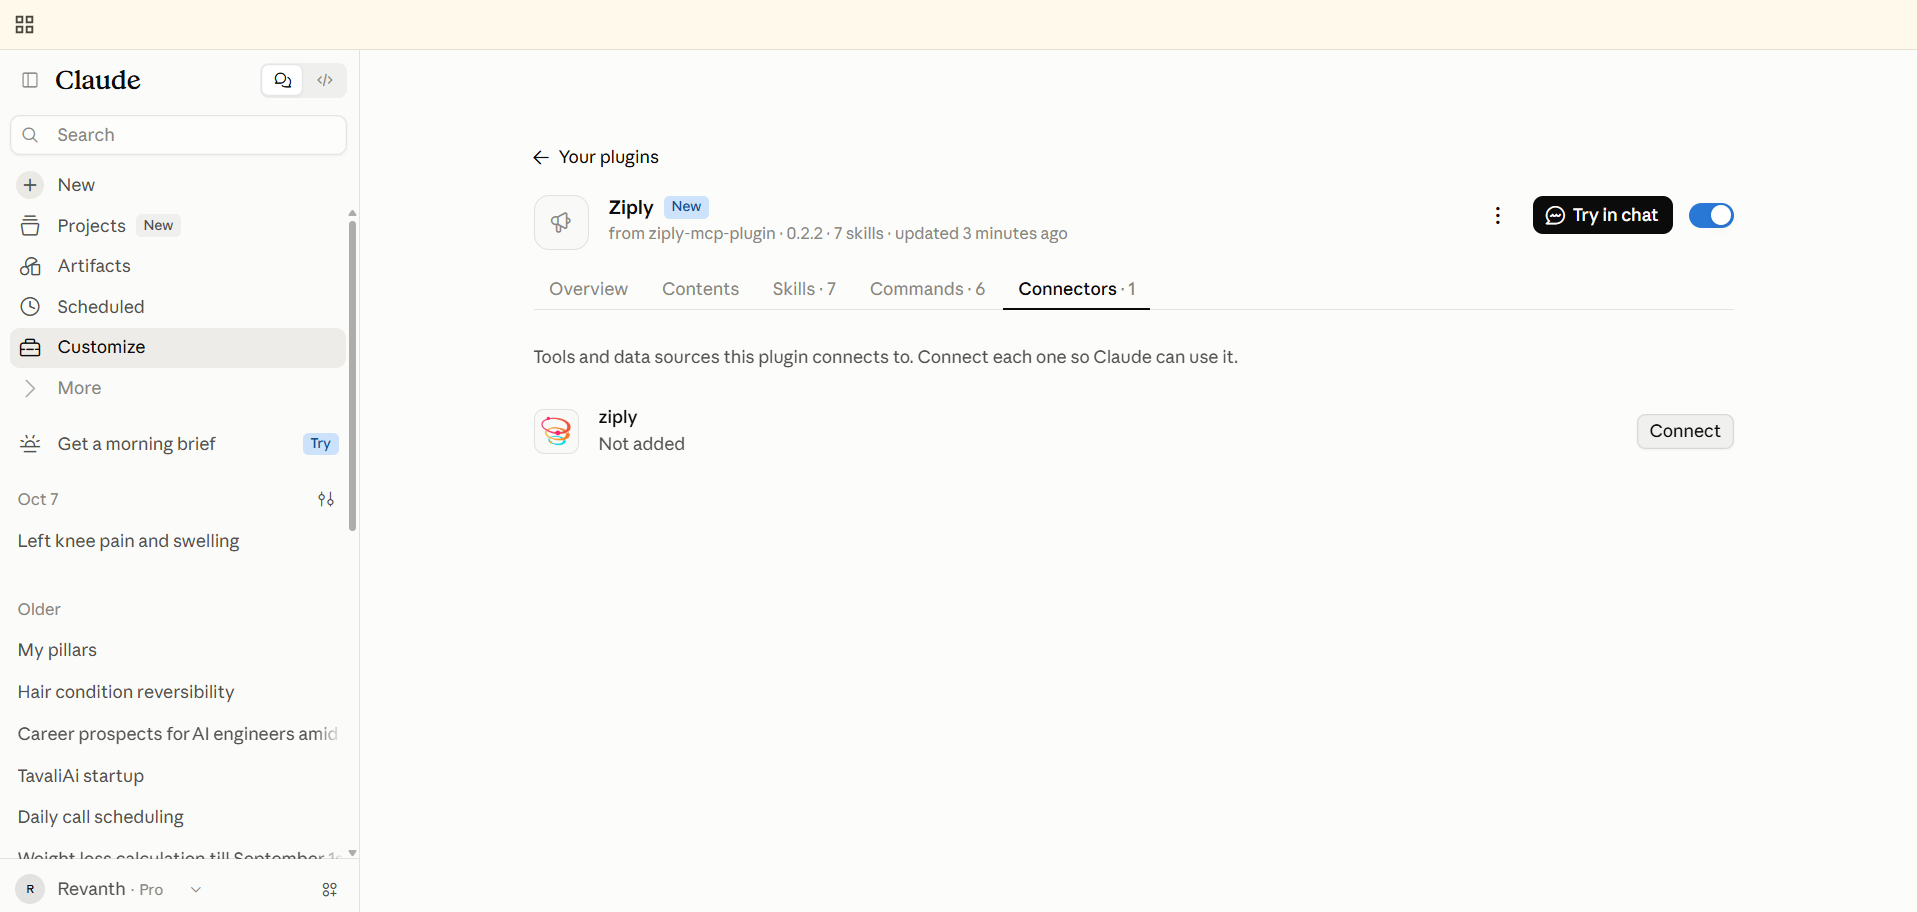
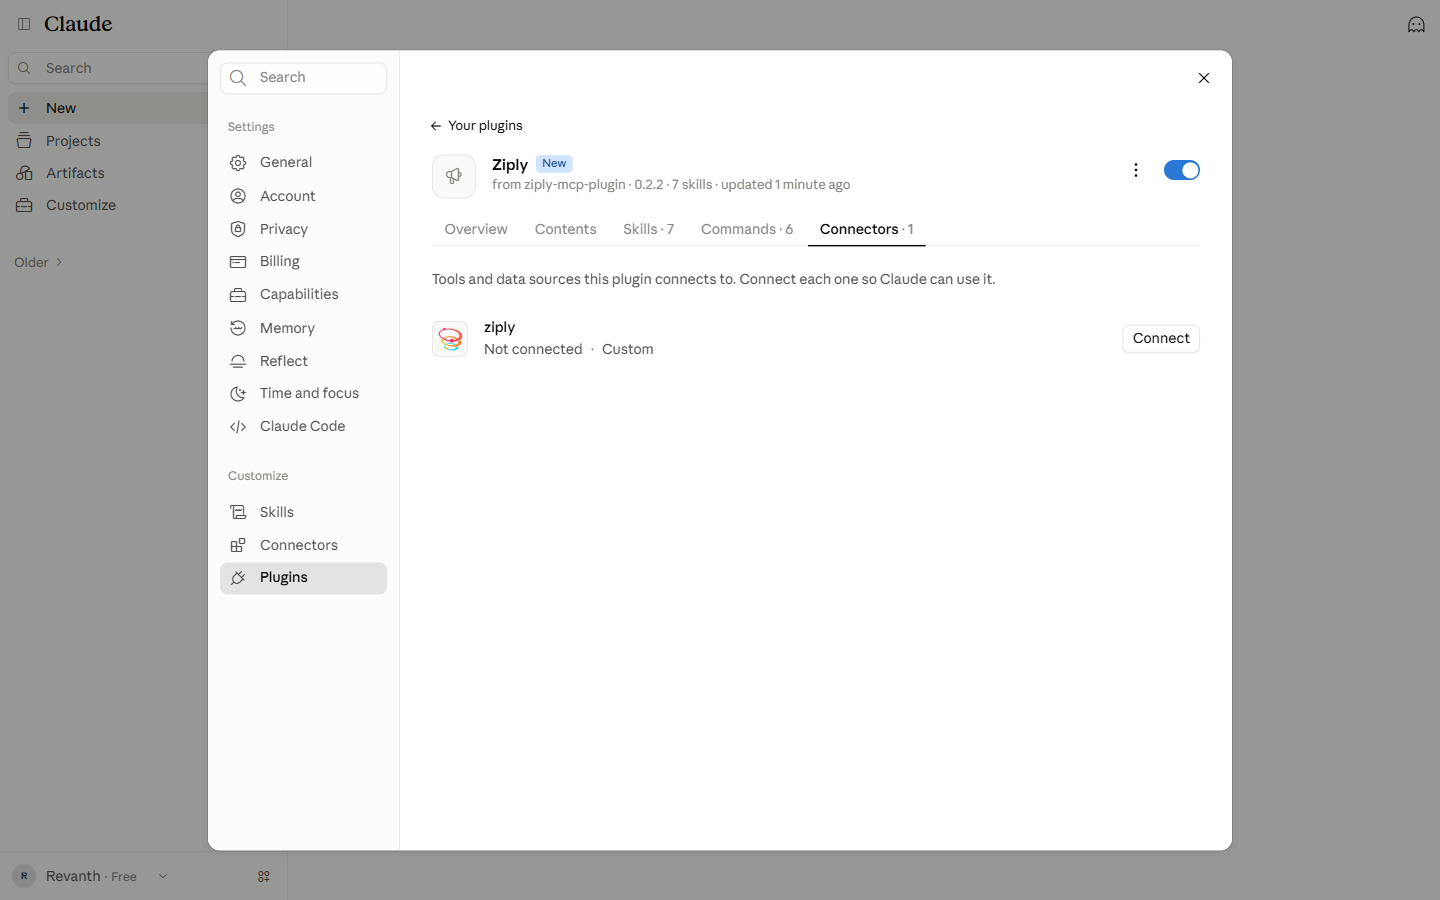
Open the Connectors tab. The ziply connector says Not added. Click Connect.
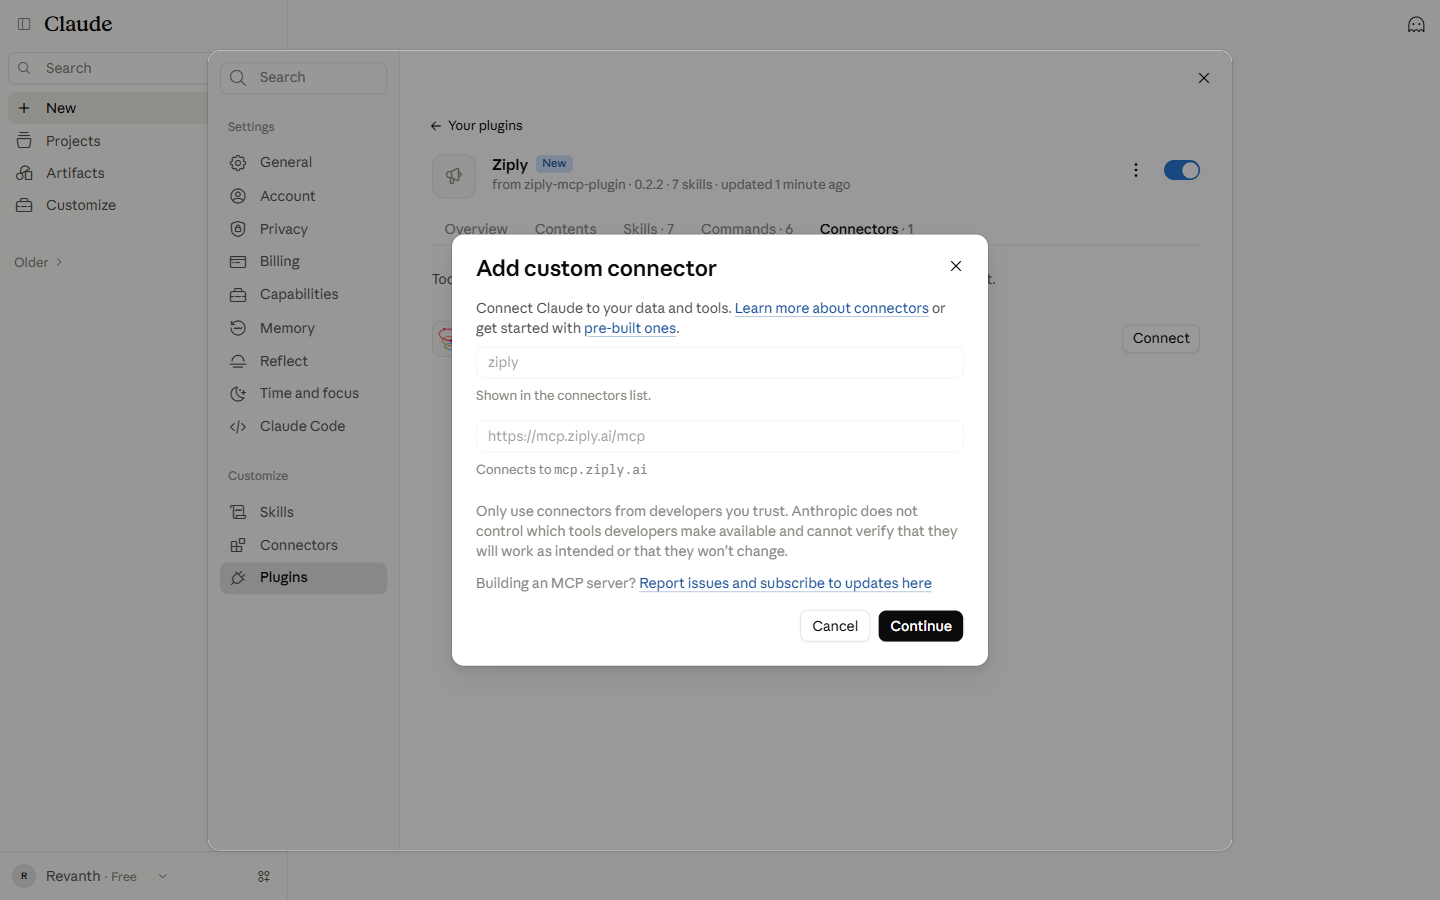
An Add custom connector dialog opens with the name ziply and the URL https://mcp.ziply.ai/mcp already filled in by the plugin. Click Continue.
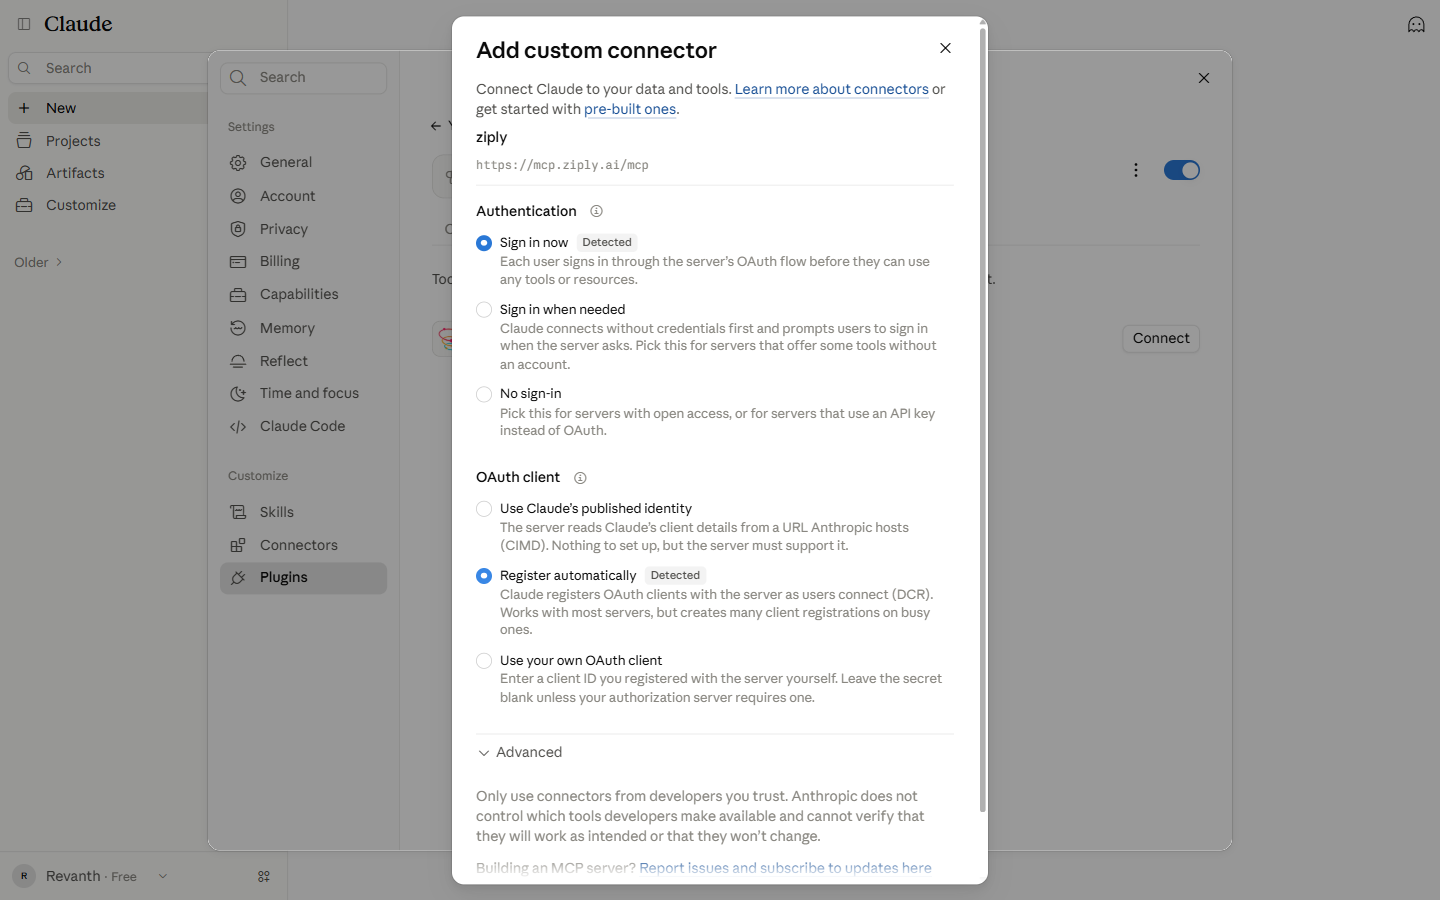
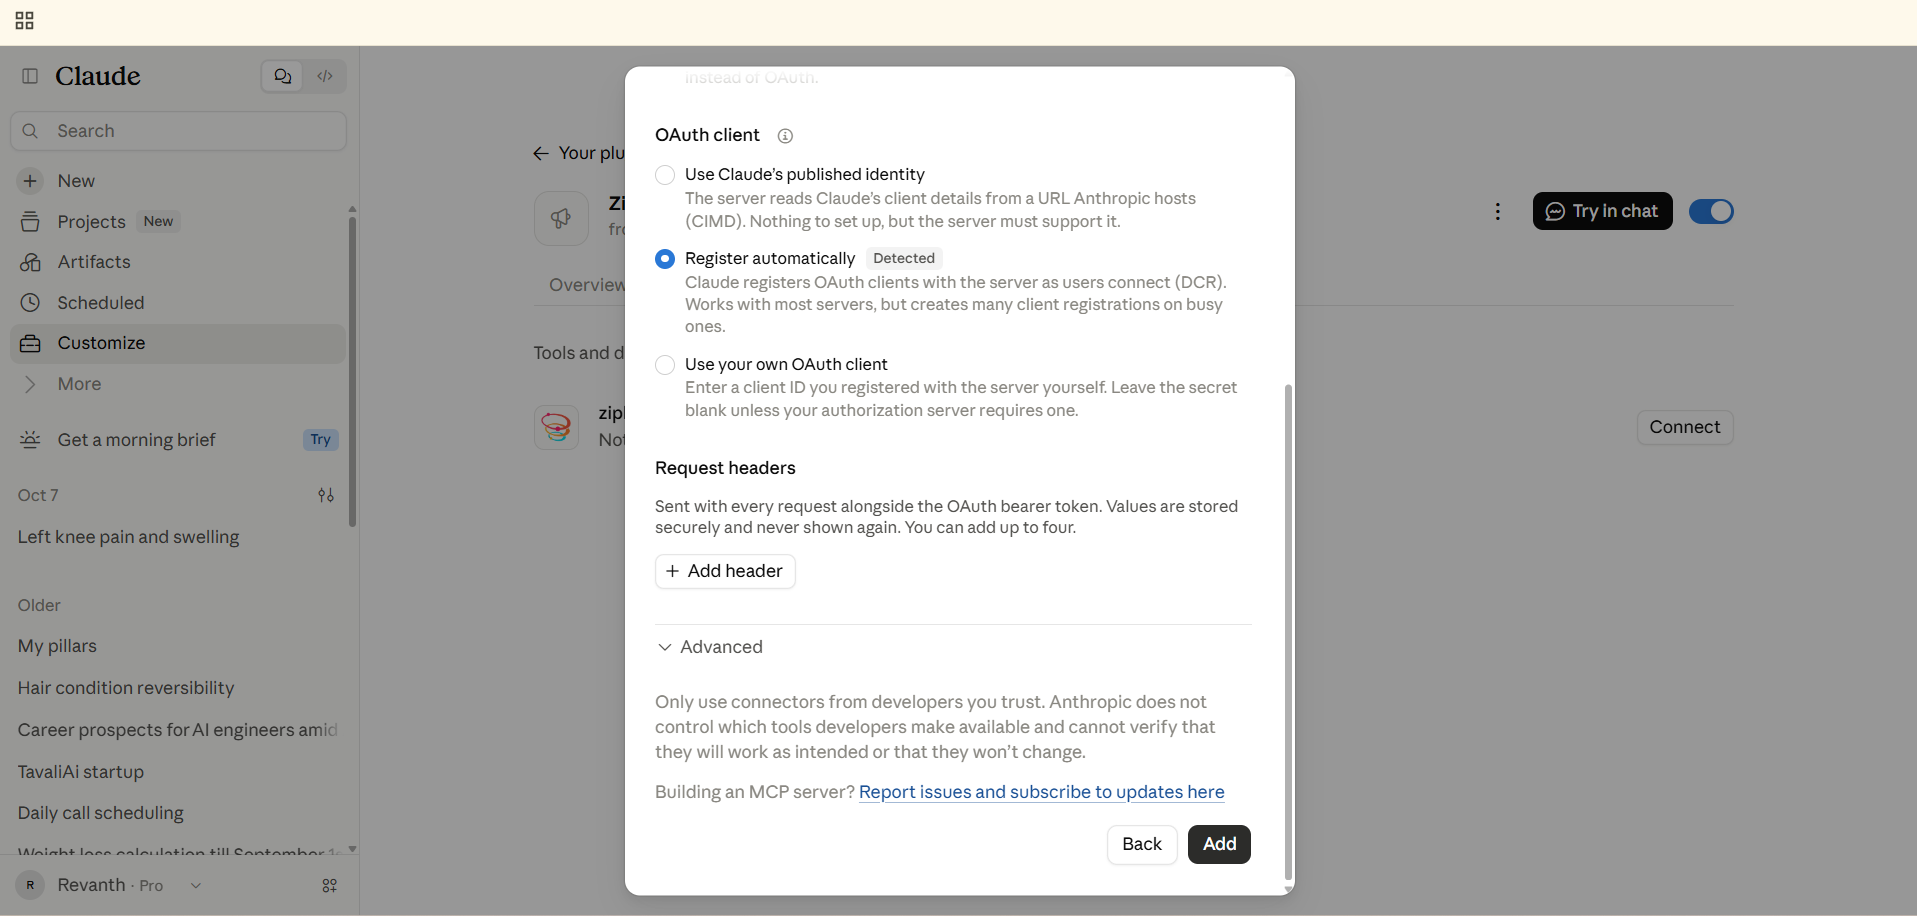
Claude checks the server and selects the right options automatically: Sign in now and Register automatically. Leave them as they are, scroll to the bottom of the dialog and click Add.
The connector now says Not connected · Custom. Click Connect again to start the sign-in.
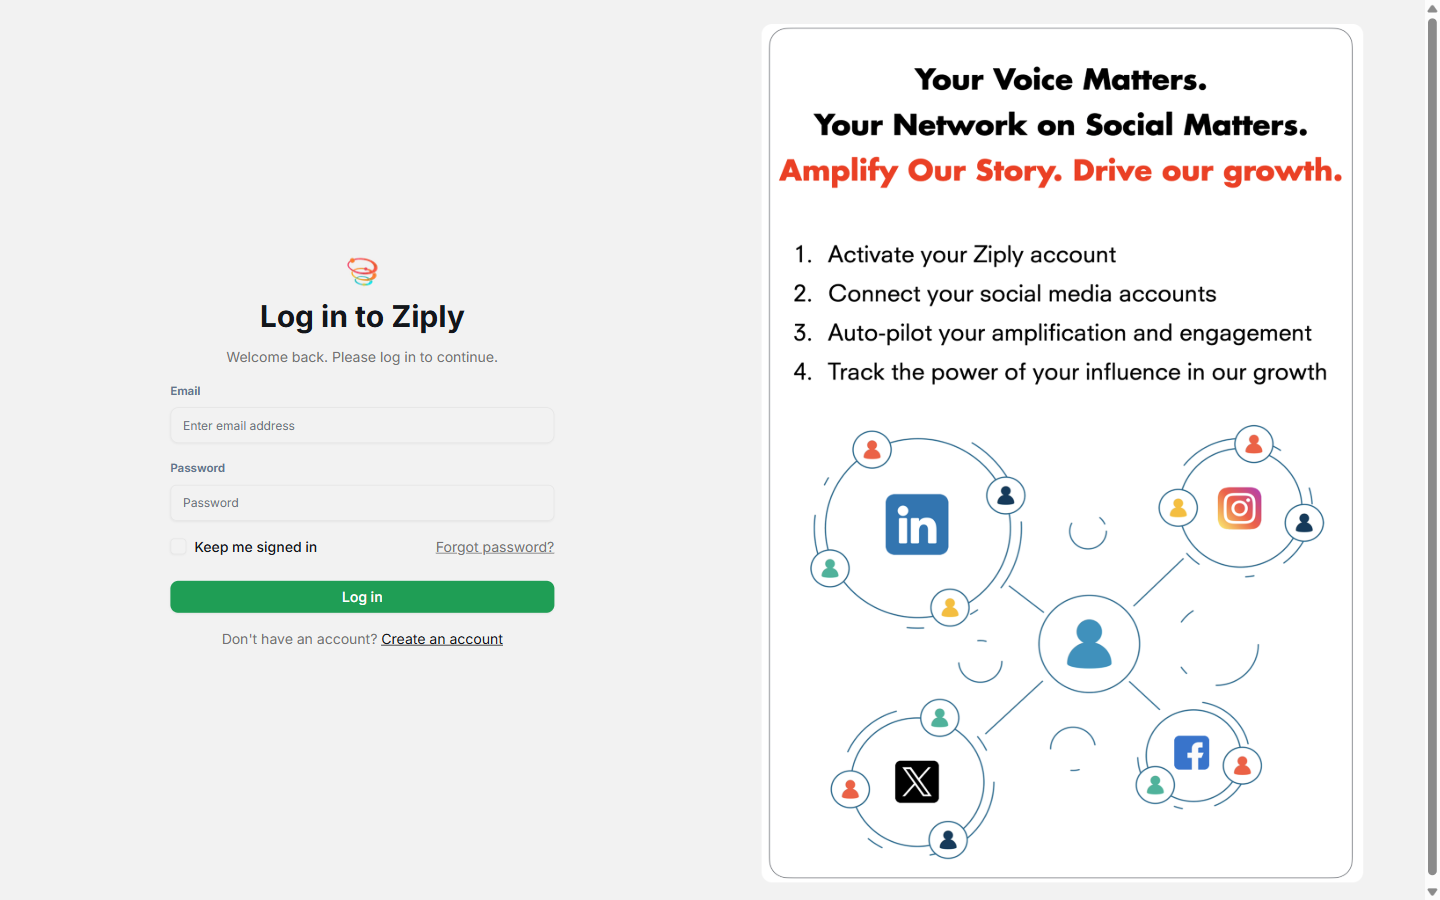
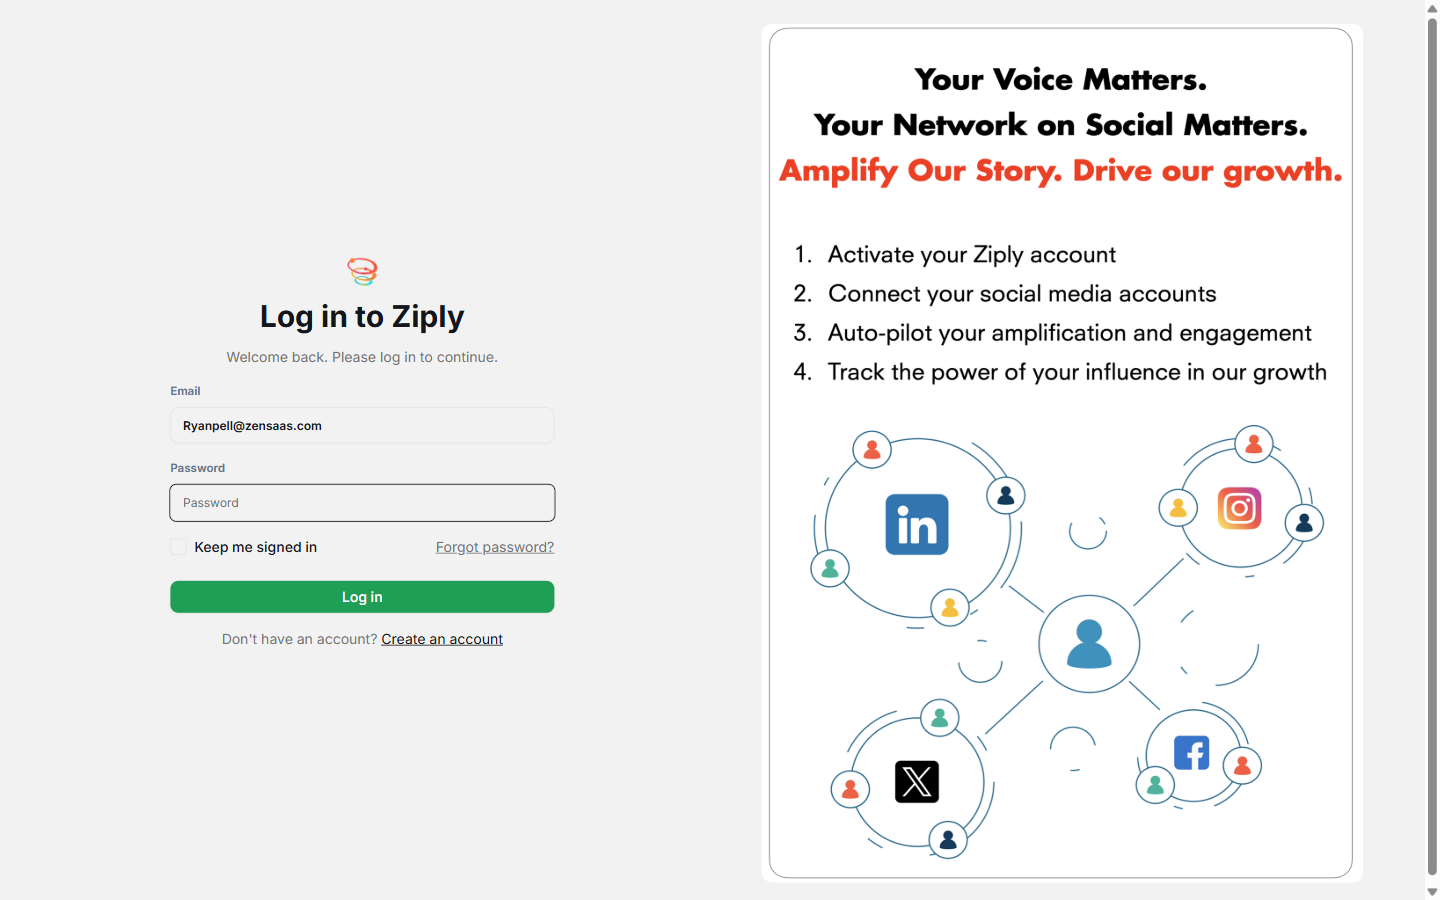
Claude opens the Ziply login at app.ziply.ai. Enter your Ziply email and password, then click Log in.
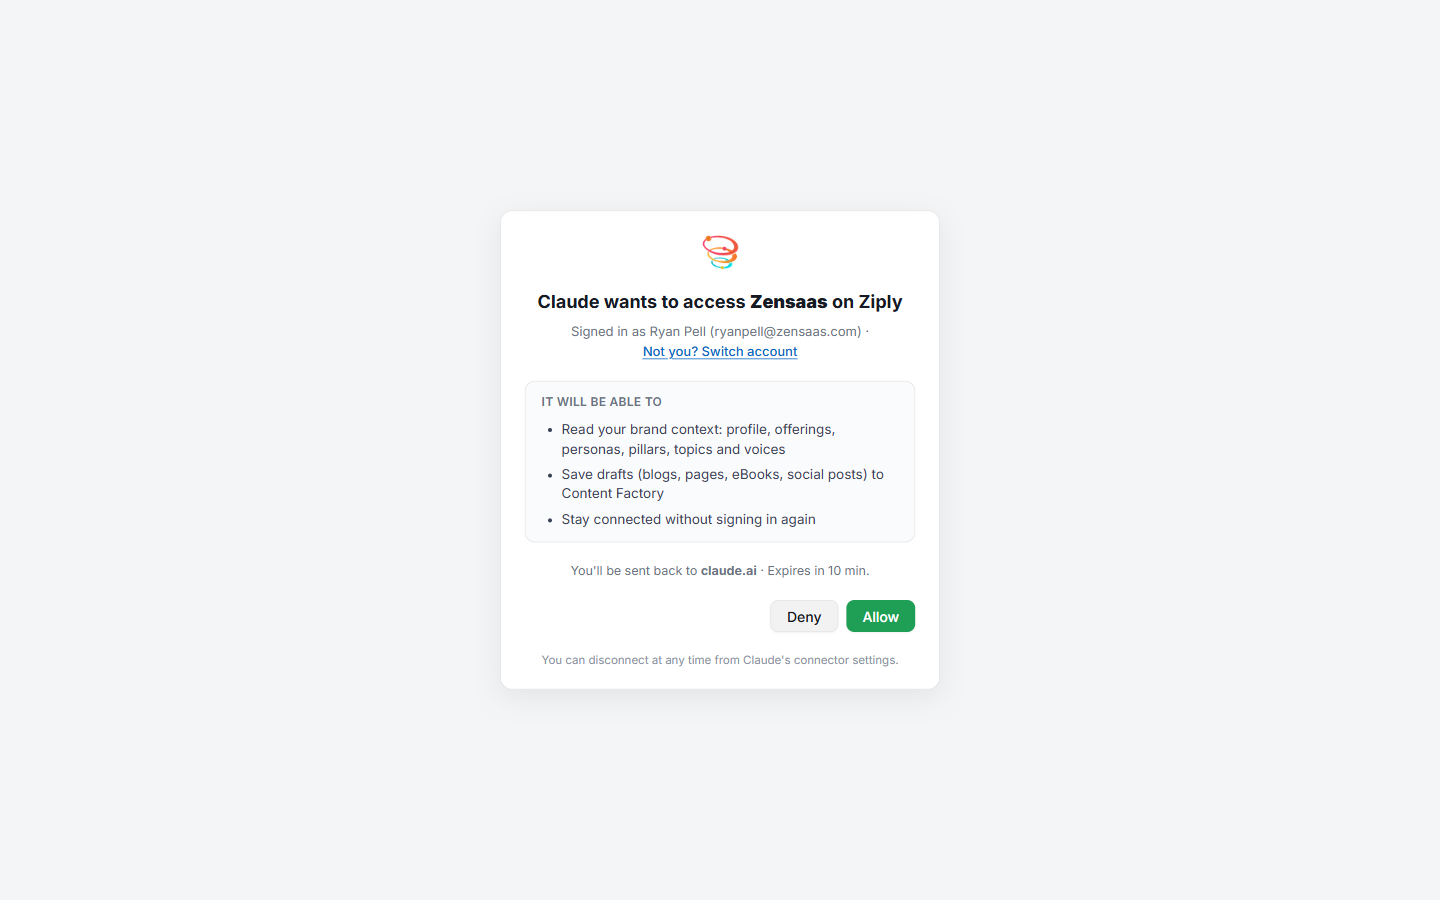
Ziply shows a consent screen: "Claude wants to access <your workspace> on Ziply". It lists what Claude can do:
Click Allow. The request expires after 10 minutes. If it expires, start again from Connect.
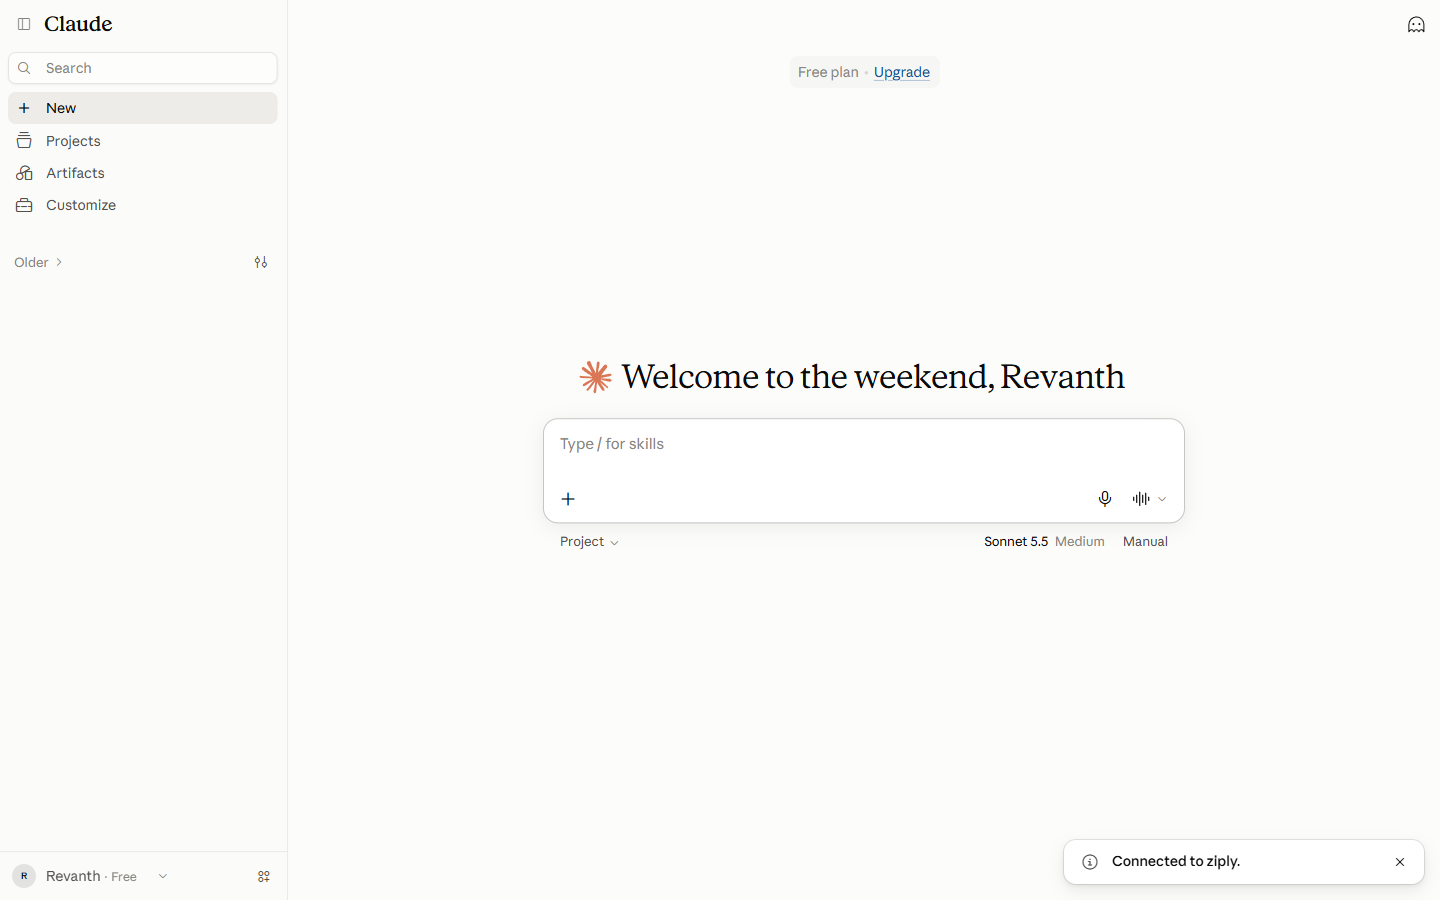
Ziply sends you back to claude.ai. A toast says "Connected to ziply."
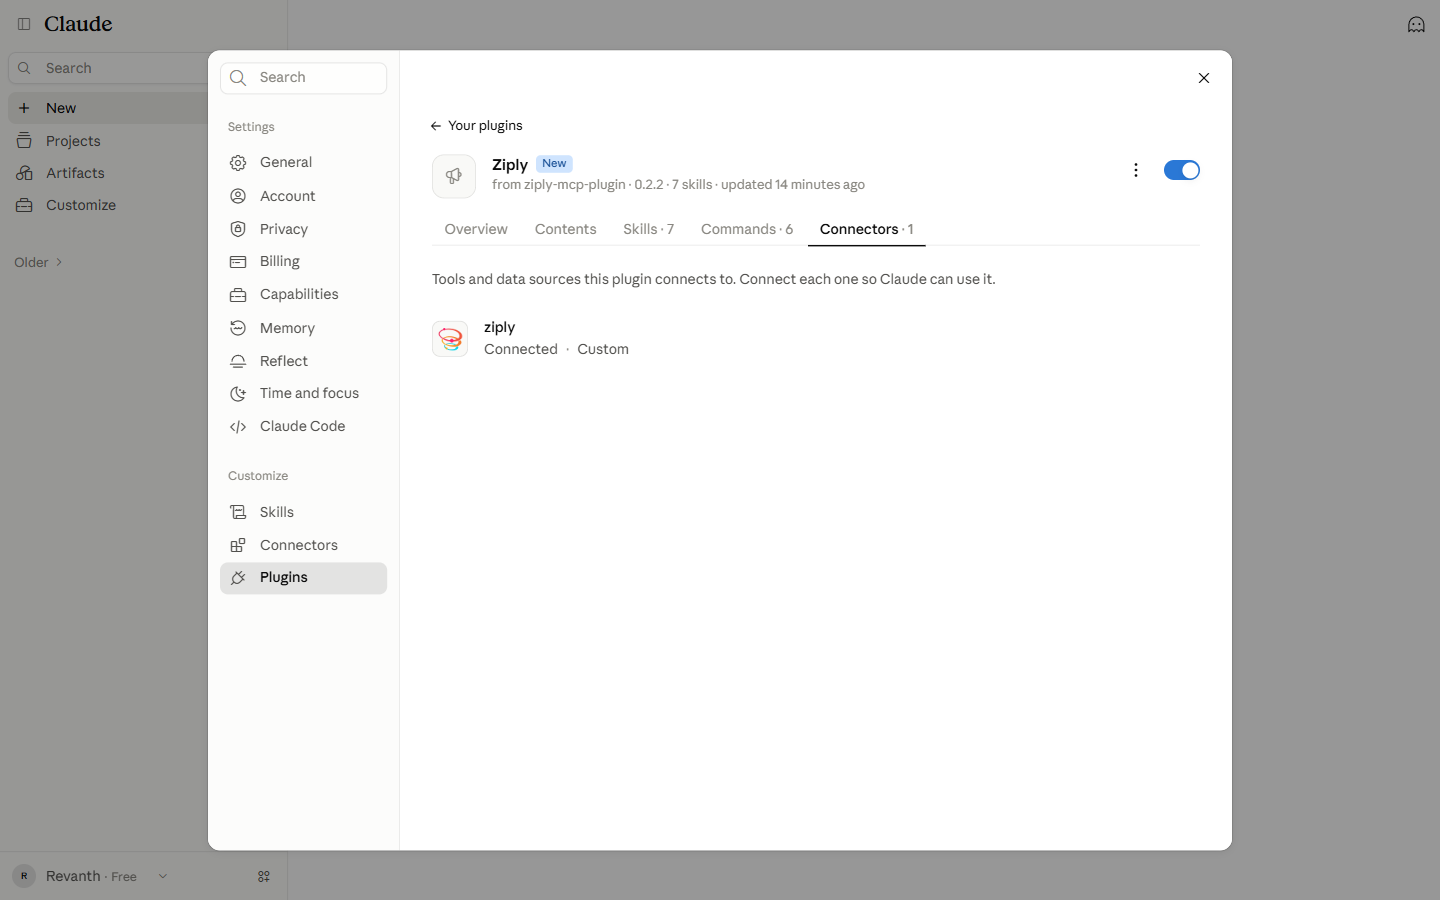
Open the plugin's Connectors tab again. The ziply connector now says Connected · Custom. Setup is complete.
Start a new chat and ask "Is Ziply connected?" to check. The plugin saves content to Ziply Content Factory as drafts and never publishes. In Claude Cowork and Claude Code you can also type these commands:
| Command | Does |
|---|---|
/ziply:status | Checks the connection and summarises your workspace |
/ziply:topics | Recommends what to write next |
/ziply:brief <topic> | Builds a research brief |
/ziply:social <idea> | Writes social posts |
/ziply:reddit <idea> | Starts a Reddit discussion |
/ziply:push | Saves the content in the conversation to Ziply |
The Settings window is narrow. Widen the window, or use Customize → Plugins in the sidebar.
It is only about auto-sync. Turn Sync automatically off, or ignore the notice.
Click Connect again and finish the Ziply login and Allow steps.
Click Connect again to start a new request.
Open the plugin's Connectors tab or Settings → Connectors.